Last Updated on April 15, 2024 by Real Men Sow
Growing microgreens —these are young, leafy vegetables that you can harvest after the cotyledon (or seed leaf) develops one small set of true leaves. Microgreens are leafy vegetables such as radish, cabbage, beets and cabbage.
They can be put into soups, salads, and sandwiches for their flavour and texture. You can also use them as a stand-alone vegetable. They are often eaten raw and not cooked.
Microgreens can be as small as 1 inch (2.5-7.6cm), including stems and leaves. The most common way to harvest microgreens is to cut the stem of the seedling just above the soil line.
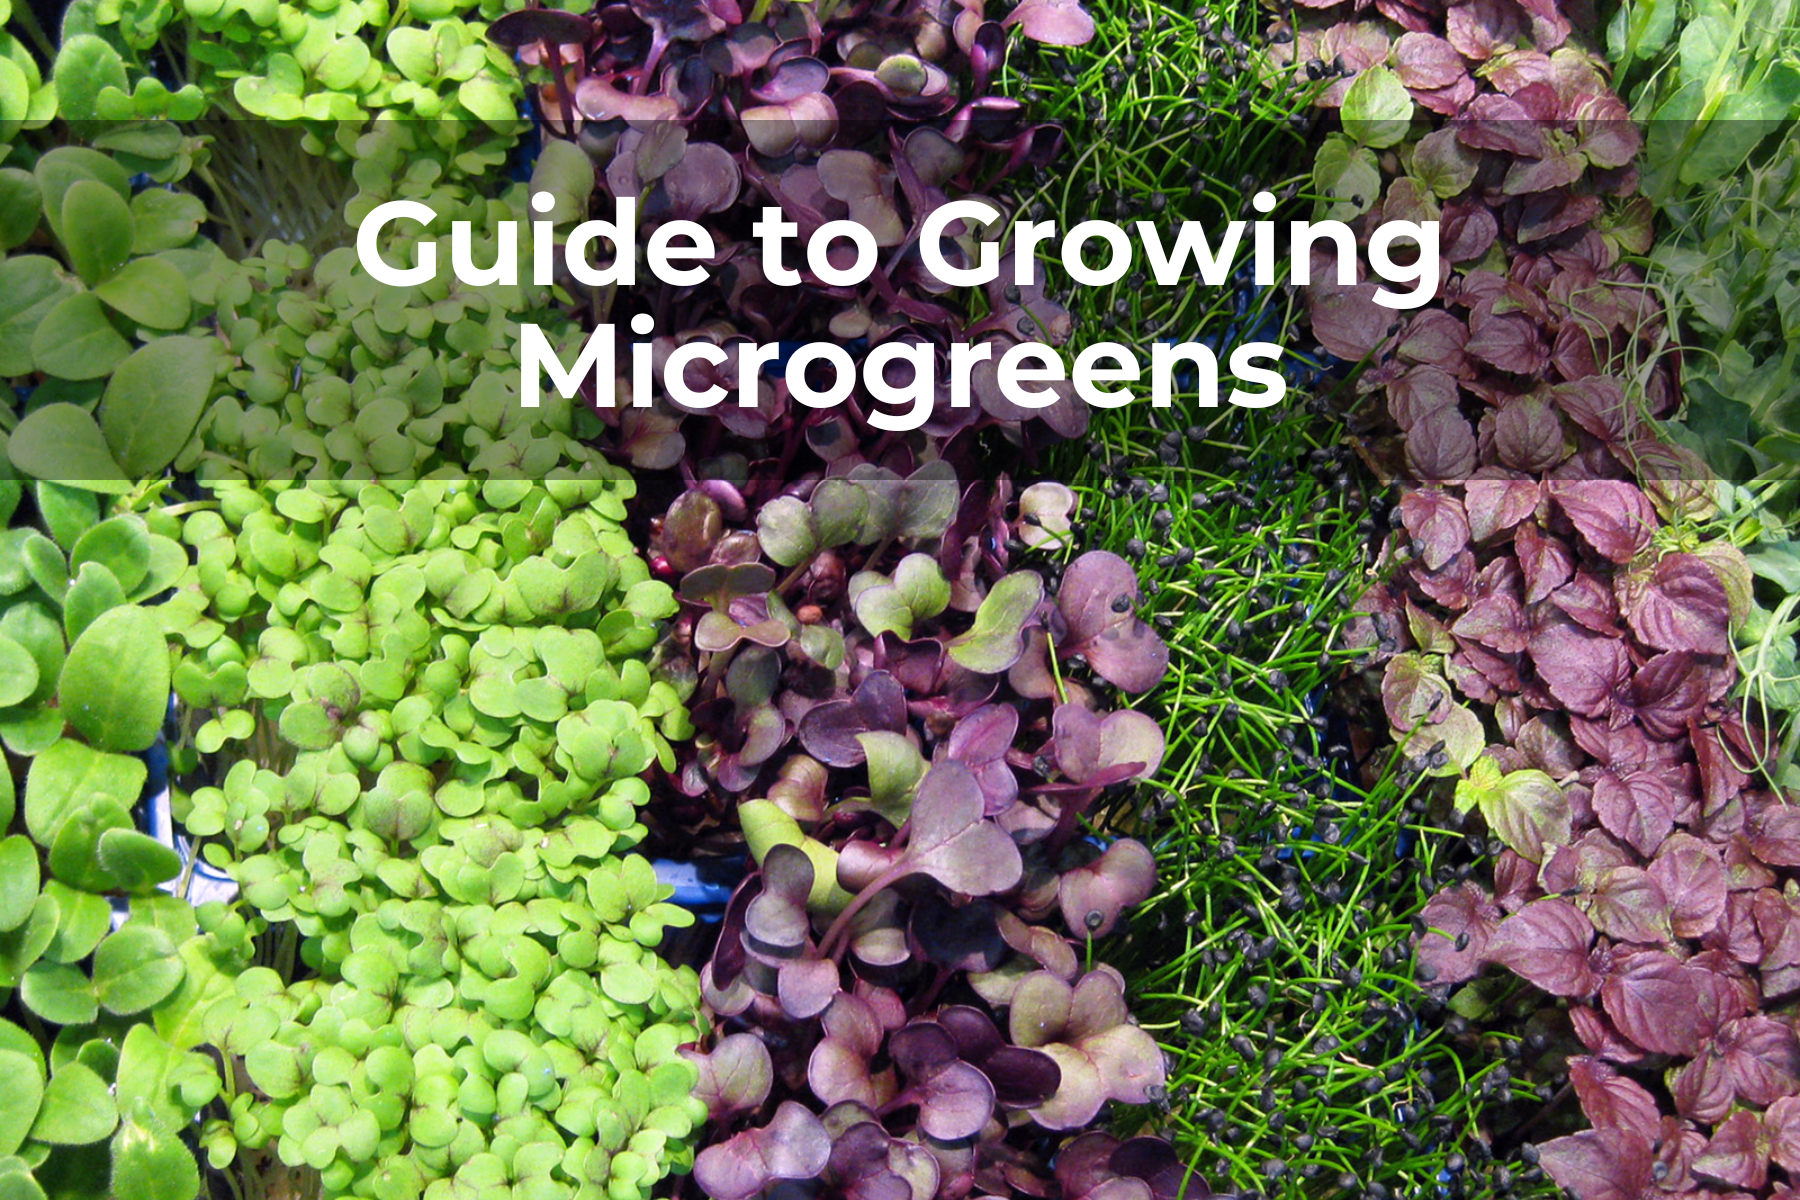
Common Microgreens

Growing microgreens include Vegetable greens that often include:
- Amaranth: Sparkling leaves with essential vitamins can also be used as a garnish. They taste just like lettuce (harvest in 21-days).
- Arugula: Usually purple stems with green leaves and a spicy taste (harvest in 21-days).
- Basil: green or purple leaves can be used in Mediterranean-inspired dishes (harvest in 15 days).
- Beets: usually found in the red and green varieties. They add a rich flavour to salads and sandwiches and can be harvested within 21 days.
- Chard: Often reddish-pink stems but also gold, white, or purple stems. Harvest in 21 days
- Cilantro: Wispy leaves with strong, distinct flavours can be added to many dishes (harvest in 21-days).
- Cress: Green, almost feathery leaves with peppery flavours.
- Fenugreek: stems and dark-green leaves are used in Asian cooking. Harvested in 21 days.
- Kale: The pinkish stems of kale and the greenish-purple leaves are high in nutrient value; add to soups and salads before serving (harvest within 21 days).
- Mizuna: These slightly peppery leaves can also be used in salads and as toppings for pasta and curry dishes (harvest in 12 working days).
- Mustard: Red-veined leaves often with a spicy, peppery mustard or horseradish taste (harvest in 14 Days).
- Radish: One of the fastest to germinate (12 days harvest); spicy addition to any cold or hot dish.
What to Consider When Growing Microgreens – Location
Space
Microgreens need space, just like any other plant, to grow. You should not crowd them into small spaces.
Light
Microgreens grow best in natural light. It is best to have a south-facing window that doesn’t get too hot in the summer. You can also use All-artificial lighting to grow microgreens. Winter is a time when artificial light is used to supplement natural light.
Airflow
Microgreens thrive in areas with good air circulation. A gentle breeze from an open window or fan will help seeds germinate. It will also keep insects away.
Water and Drainage
Microgreens thrive in areas where there is water readily available, such as near a tub or sink where they can soak and drain.
Humidity
Microgreen seed starting can be aided by adequate humidity. Seedlings can suffer from too much humidity. The use of plastic domes or humidity control over pots and trays may encourage germination.
Planting and Growing Microgreens Step-by-Step
You can either grow microgreens from seeds or transplants. The most popular way to growing microgreens is from seeds. These are the steps for planting microgreens.
- Microgreens thrive in loose, well-draining planting mixes. Use a commercial potting mix that is for herbs or vegetables.
- Moisten the mix, then squeeze it out. If a few drops of water come out, it is good. It’s too moist if it comes out with a steady stream.
- Place the planting mix should in a tray, pot or another container. The mix should be no more than a few inches in depth. To loosen up the mix, you can add the dry mix.
- Do not add seed lightly. A dense harvest takes longer and is more cost-effective than a lighter harvest.
- Cover the seed with vermiculite or planting mix. Uneven germination will occur if the seed is covered.
- Lightly spritz the mixture and then seed.
- You can place a newspaper or paper towel on top of the tray or planting pot. This will block out light for a few days and help speed up germination.
- When the seeds germinate within 3-4 days, you can remove the cover and water gently daily.
- Place the container under artificial or bright light for 6-8 hours every day
- After the seeds have sprouted you should not water them from above. The best way to water your seedlings is to bottom water them. Place the tray or pot in a bigger container, sink or bathtub and let the water soak up from the bottom.
Growing Microgreens Common Problems
These are some common problems that microgreen growers face and their possible solutions.
Poor or No growth
Seeds can germinate slowly or stop altogether if they are too old or not receiving enough moisture. Place 10-20 seeds on a damp paper towel to test for germination. They should germinate in 2 to 4 days. If they are not germinating well, you can get new seeds.
Looking Yellowish or Sickly
it is likely that they are not getting enough sunlight. Move them closer to the light source.
Mould in the Planting Mix
This is due to low airflow, too much moisture, and overwatering. Place them in areas where mould is not manifesting in a container and then dispose of the mouldy area. Let the mixture dry for at least a day before harvesting. Do not confuse tiny root hairs with mould.
