
Last Updated on April 15, 2024 by Real Men Sow
So, if you want or have started to grow microgreens but are somewhat missing something, then you ask, what exactly are the things to know when growing microgreens successfully?
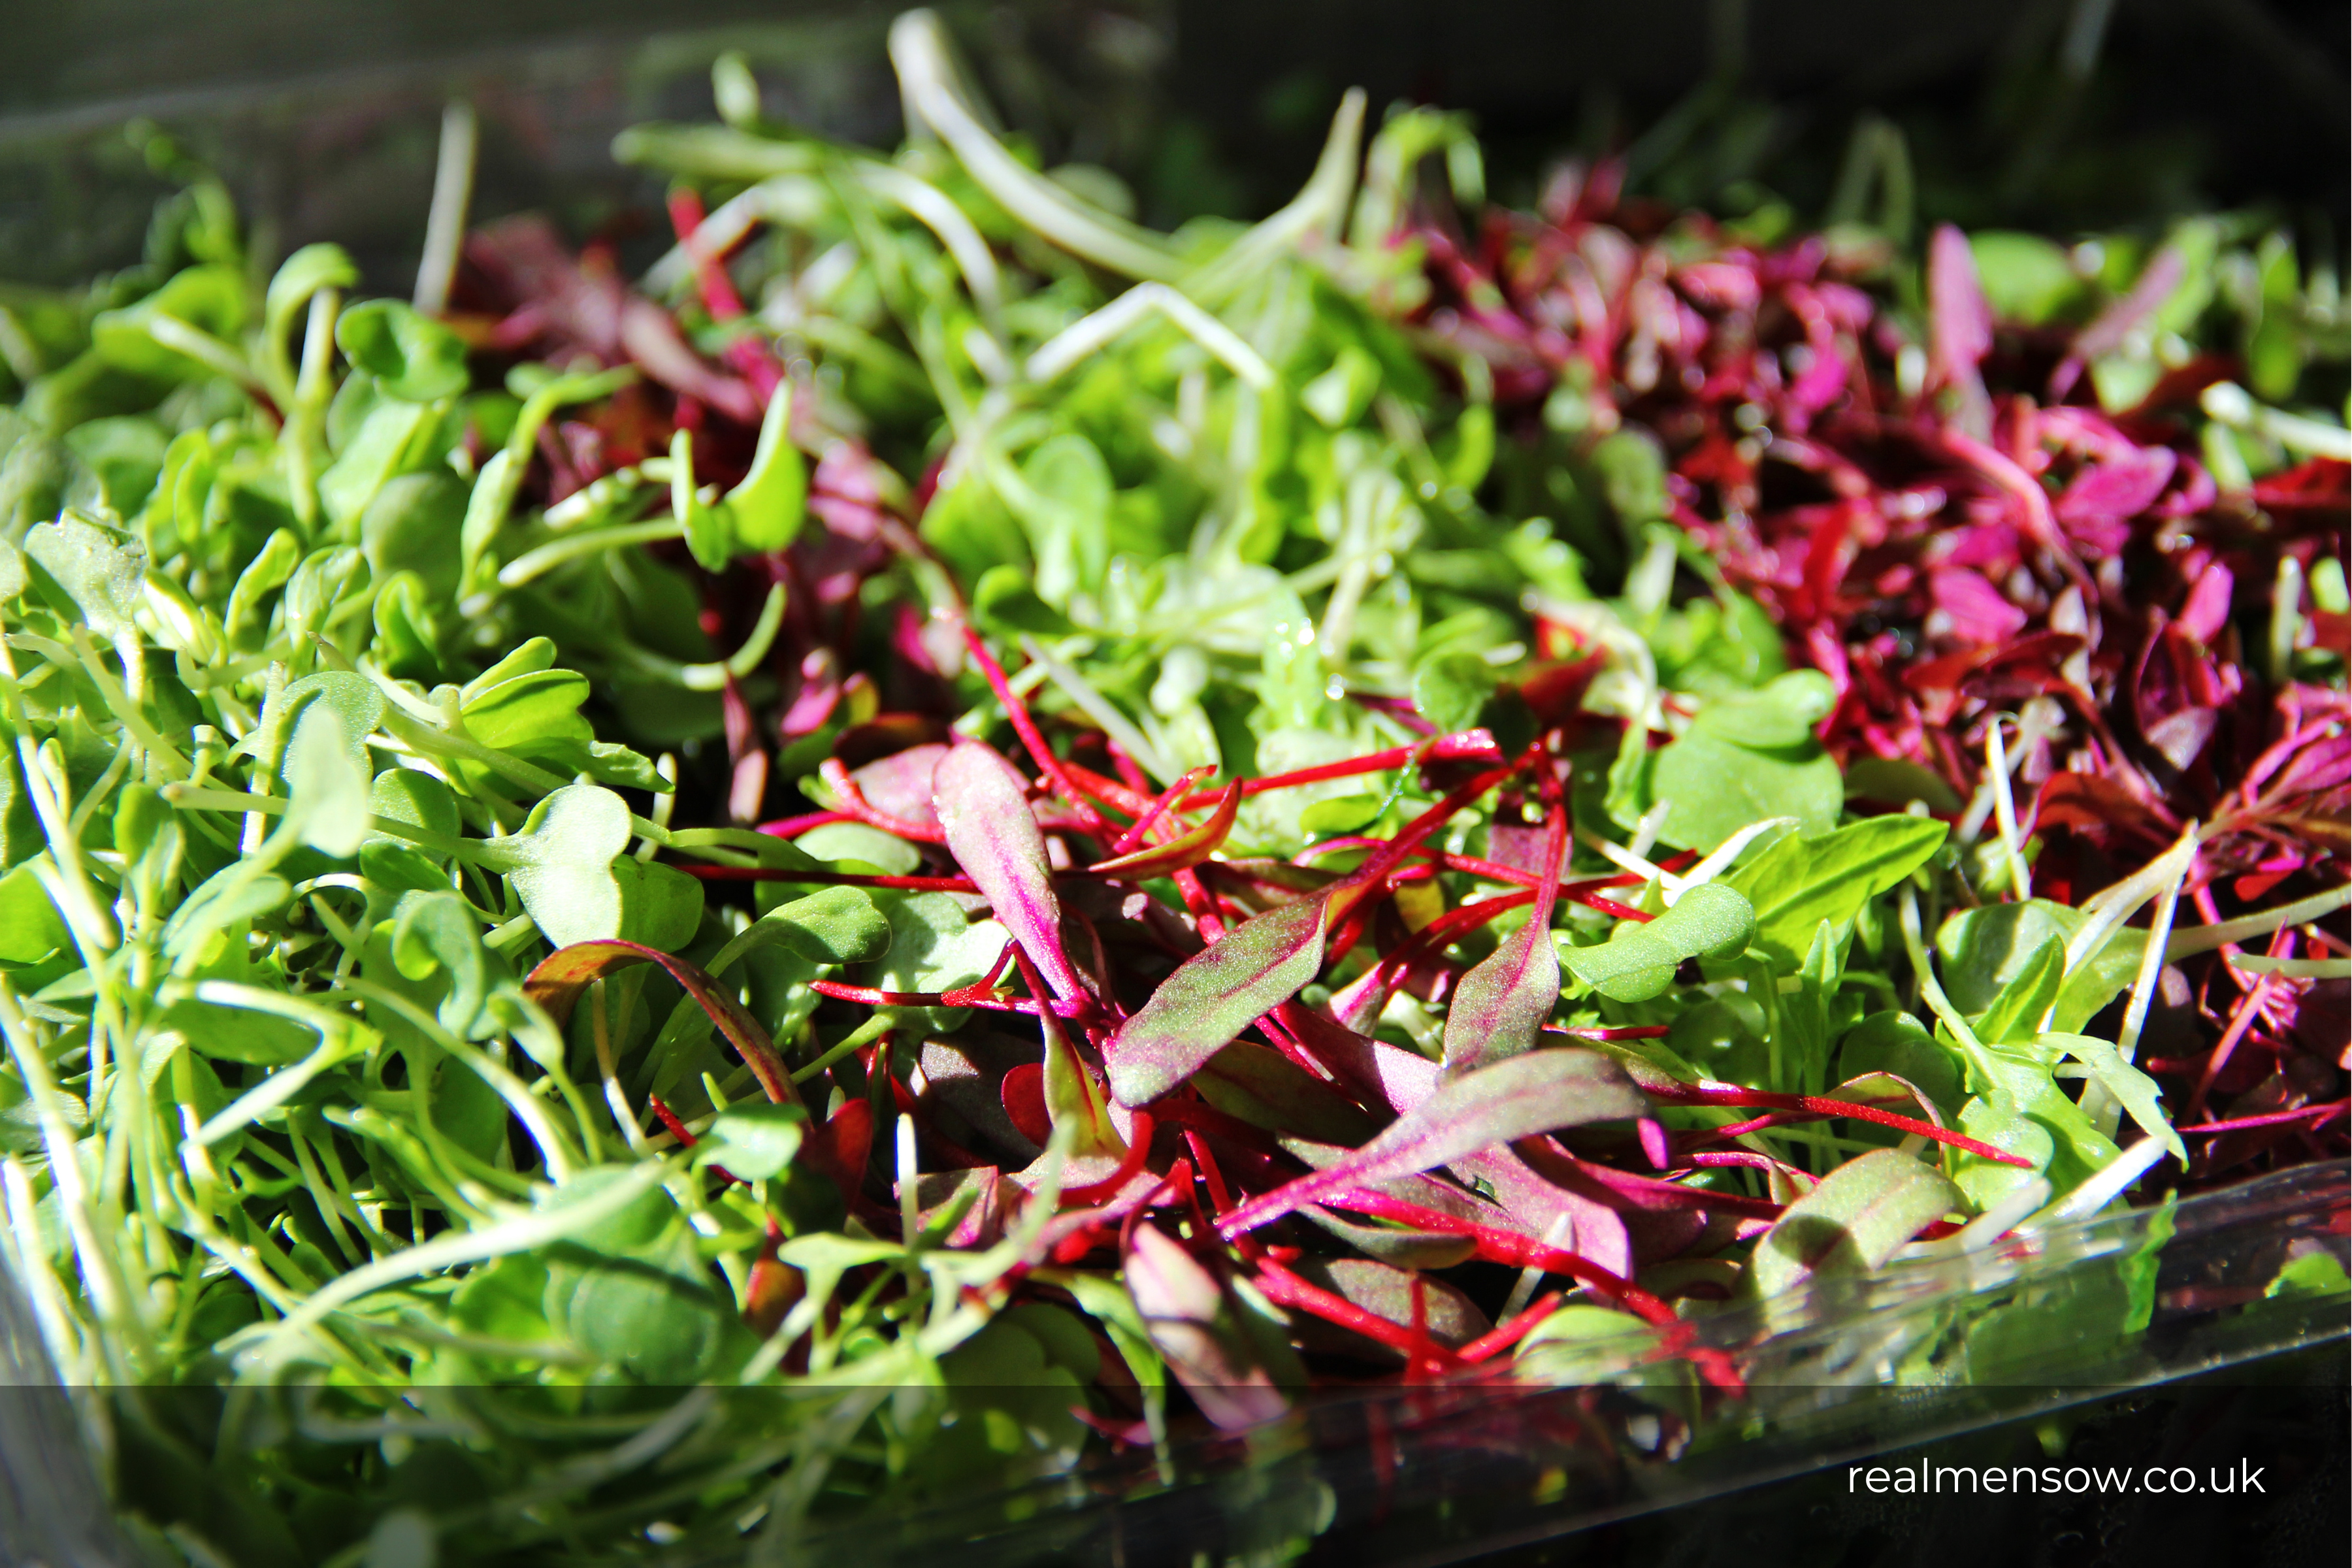
As you know, microgreens are a type of edible plant that is typically grown indoors under controlled conditions. They are typically started from seed and harvested when they are just a few inches tall. Microgreens can be grown from a wide variety of plants, including vegetables, herbs, and grains.
The term “microgreen” is a relatively new one and is used to describe a plant that is harvested at a very young stage when it is still a seedling.
What are the benefits of growing microgreens?
The benefits of growing microgreens are many and varied. They are a nutritious and tasty addition to any meal and can be grown year-round in most climates. Microgreens are also relatively easy and inexpensive to grow and can be done so in a small space.
Microgreens are packed with nutrients, including vitamins, minerals, and antioxidants. They are also a good source of fibre.
Things To Know When Growing Microgreens
Here are some of the things we think you should know for growing microgreens successfully:
1. Growing Media for Microgreens
You can grow Microgreens in a soilless medium (called potting soil), or on substrate mats made from fibre, which are often infused with plant nutrients.
Soilless media
Suitable for indoor and container seed starting and growth. Avoid planting microgreens in soil that can harbour pathogens or insect pests. Microgreens can be grown in peat, vermiculite and bark. Microgreens can be grown using commercial seed starting mixes and potting mixes designed for herb and vegetable growing.
Paper Or Fiber Substrate Mat, Or Even A Cloth
Most commercial mats can be biodegradable or compostable. They are made from natural, ph neutral, hemp and other fibres. You can cut mats to fit any container.
2. Containers for Microgreens
Material
There can be plastic, foam, wood, stone or terracotta microgreens containers. You should choose a container that is safe to grow edible plants. You should choose a container that drains easily.
Depth
You can harvest microgreens young, so they don’t require much depth. Most microgreens’ root mass will be found in the top 6 inches. A container should be 6 inches in depth. It’s possible to use Algae-infused mats by microgreen growers to provide nutrients and support. You can place the mats in trays or pots up to 2-3 inches deep.
Drainage
Microgreens containers must be well-drained and should have well-aerated soil. A container should have a hole at the bottom or multiple small holes that allow drainage. Mould can form from stagnant water or overwatering. Microgreens can also be kept in the bottom water. Place the tray or pot in a few inches of water and the soil will draw water from the bottom.
3. Shelving for Microgreens
Adjustable shelving allows you to adjust the height of your shelves so that they can be grown on windowsills or counters. This will ensure that your microgreens receive maximum light exposure and allow for air circulation. Microgreens can benefit from good airflow by using slatted shelves. Choose stainless steel shelving that is easy to clean.
4. Artificial Light for Microgreens
There are many artificial lighting options available for microgreens that cannot be grown in adequate natural light. These are some of them:
- Full-spectrum fluorescent lamps (T8 and T5 bulbs) are available in standard metal light fixtures. They are often used as shop or utility lights. For easy adjustment, use a light fixture with hooks or chains at each end.
- T12 bulbs are the most common type of fluorescent lighting that can be used under-the-counter. However, microgreen containers need to be placed on shelves or blocks that will allow them to be closer to the light.
- High-intensity (HID) light bulbs are efficient and fit in standard sockets. They are also more expensive than fluorescent lamps.
- The LED bulbs are more energy-efficient than fluorescent lights and emit the full spectrum of light wavelengths required by plants.
5. Other Growing Supplies for Microgreens
Fans
The airflow around plants can help with temperature control, humidity and disease resistance as well as oxygen intake. Natural breezes help plants grow stronger. Microgreens that are not exposed to natural airflow should be able to use fans or other fans to simulate low winds. Create airflow by crossing airstreams between oscillating fans and box fans.
Automated light timers
Light timers can be used to turn on or off lights.
Heat mats
Germination mats or heat mats are placed under a planting tray to warm soil and roots and speed up germination in colder weather.
Mister Bottles
You can use mister bottles to mist water on plants, particularly when it is dry. These bottles are also for foliar fertilizers and organic pesticide sprays.
6. Harvesting and Storing Microgreens
In 1 to 2 weeks, microgreens are ready for harvest. Microgreens that are at least 1 to 2 inches tall have the best flavour. Take a few microgreens and use scissors to harvest them. Cut the stems at the level of the mix.
Ungerminated seeds may still be visible after greens have been harvested. Set the tray or pot back in the sunlight and let the seeds germinate. To keep microgreens fresh, store them in glass containers with lids.
If refrigerated, microgreens can be kept for up to a week. Microgreens are best enjoyed soon after they have been harvested.
7. How To Use Microgreens
Fresh microgreens are the best. Microgreens can be kept in the refrigerator for up to a week. You can add them to soups, salads, sandwiches, or other dishes. They’re also best with salmon, chicken, tofu or pork.
It’s also possible to sprinkle them on sandwiches, open-faced grilled cheese, pizza, scrambled eggs, or added to an omelette. You can also add them to smoothies, and add microgreens to water and fruit.
