Last Updated on September 19, 2023 by Real Men Sow
This evergreen shrub can reach a height of 3 m (10 ft) if left unpruned. It also has a similar spread. Spotted Laurel grows slowly and increases in height at a rate of 20cm (8 in) each year. However, it is easy to trim down to form a lovely, rounded shrub.
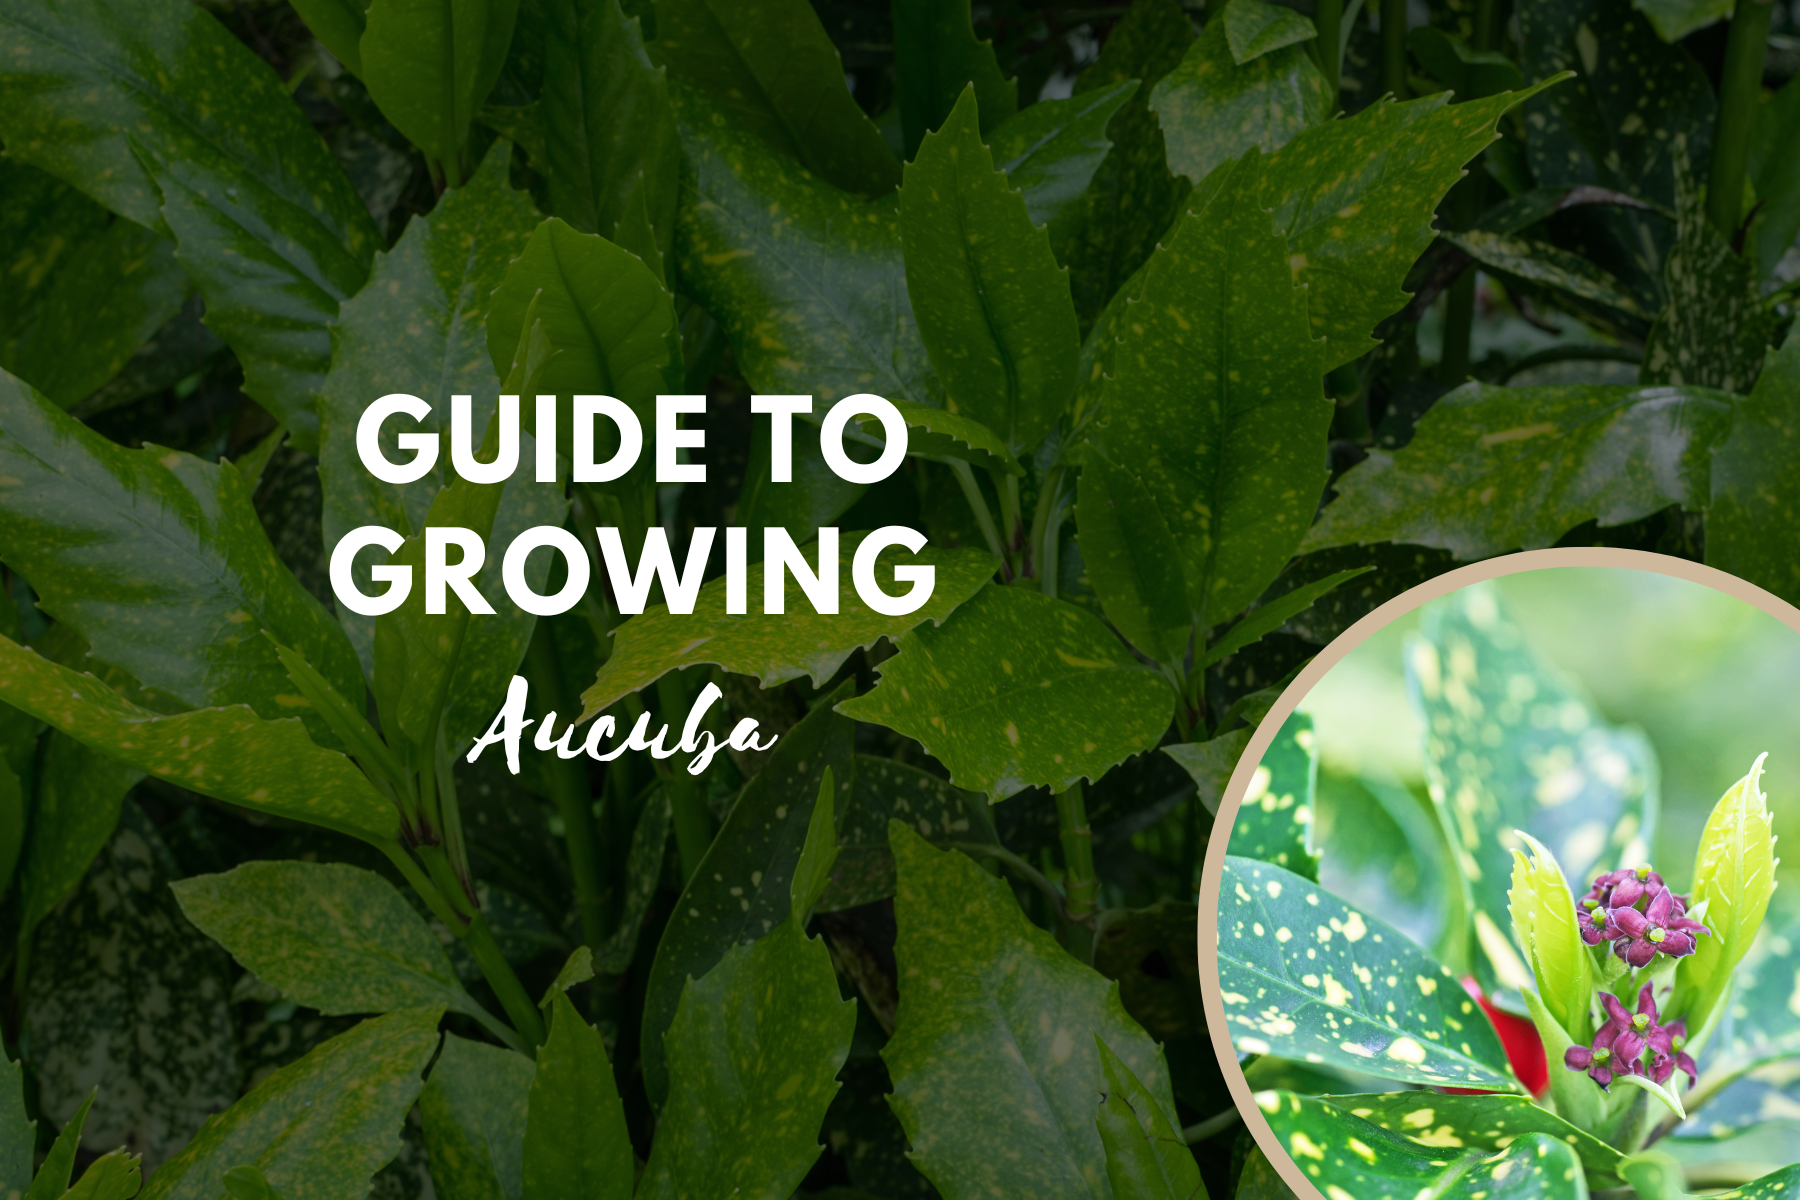
It can withstand temperatures as low as -12°C and is therefore fully resilient in most areas of the UK. Even the most lazy gardener will love this variety! They thrive in any soil except those with waterlogged soils. Aucubas can thrive in both full sun and shade. The leaves are more vibrant in shade, which helps to maintain their variegation.
How To Plant A New Spotted Laurel
You can plant the shrub at any light level, from full sun to shade. Although it grows fastest in full sunlight, this is not the only difference. Add lots of compost to heavy soils and make sure it drains well.
You can plant it all year as long as the soil isn’t frozen and you water it well when it gets dry. The best time to plant this shrub is between March and April and between September and October. Dig a hole twice as wide as the root ball. Add a few drops of blood, fish, and bone to the hole and then work it into the ground.
Fill the hole with soil to the same depth as the pot. Firmly but gently fill the hole around the rootball. To settle the soil around the root ball, water well.
General Care Guide
Once established, a Spotted Laurel will take care of itself. It doesn’t require watering, except in extreme droughts. The Spotted Laurel will thrive on any average soil and does not need additional feeds. For the first five years, it doesn’t need to be pruned. It will continue to grow and become more compact after that.
Water younger plants, up to 2 years old, if the conditions are dry. It will establish a strong root system by receiving a twice-yearly feed of blood, fish, and bone in the spring or autumn. The area surrounding the base of your plant should be free of weeds, grass, and other debris.
Pruning Spotted Laurels
If you prefer a smaller shrub, pruning can be done anytime between March and May. Pruning should not be done after July, as the young shoots that emerge after pruning can easily be damaged by frost. These shrubs should not be pruned until they are 5 years old or older.
Pruning simply means that the shrub is cut back to its original shape. Prune the stems, but don’t cut the leaves. They will turn brown at the edges if you cut them, but they will recover after one year.
Container-Growing Spotted Laurels
One Spotted Laurel can thrive in a large container. A 45 cm diameter or greater is ideal. You can fill the container with standard multi-purpose compost. This shrub is a great container plant for dark corners because it grows slowly and thrives in low light levels.
It should be fed once a month, between mid-March and mid-August. Regular watering is necessary. After waiting for the compost to dry, water it well. You can prune as you have described, but it is better to prune the shrub more often to maintain the right shape and size. To avoid the shrub being easily blown over, it is a good idea to place it in a sturdy container.
Pests And Diseases
Black Leaf Of Spotted Laurels
Blackened leaves are the most obvious sign of this problem. This is common in plants that are grown in full sunlight. The majority of cases are not serious. If the damage is limited to a small area, you can remove the blackened leaves as soon as the symptoms become apparent. There are two options for severe damage:
In May, prune the plants hard. If the prunings are removed, the plant will likely bounce back in about a month. Recognize that the problem is in the plant’s position. Dig it up and plant something better. It is possible to take cuttings. Please refer to our section on propagation.
Propagation Of Spotted Laurels
Taking Cuttings
The cuttings should be taken between late July and early September. To prevent moisture loss, store the cuttings in a plastic bag if the bush is far away. Make sure to take the cutting for longer than necessary and then make the final cut (see below) before you plant the cutting. This will reduce the healing time, which can make rooting more difficult.
To make a cutting of 8 cm (3 in), choose a stem that is approximately 1 cm thick. Semi-ripe means that the cutting is not made from new soft growth or old growth. The best cut is somewhere in the middle.
The lower leaves should be removed. To reduce the area of the leaves, don’t be afraid to cut the remaining leaves. Place three evenly spaced, 4 cm (1.5 in) thick cuttings into an 8cm-wide pot. To ensure that the compost is in contact with the stem, gently press the compost down around the cuttings. To ensure your best chance of success, you may need to take several cuttings.
Watering
The pot should be placed in a bowl or tray of water for at least half an hour to absorb the water. However, the top of the pot must not become waterlogged. Cover the pot with cling wrap or a small plastic bag. Support it so it doesn’t touch the leaves. This is a good idea. The pot should be placed in a cool, but not too cold, place.
Rooting
After two to three weeks, the cuttings should be able to root. At this point, you can remove the plastic bag. After the cuttings have grown, it is time to place them in their final position.
Keep the rooted cuttings out of direct sunlight and in a cold greenhouse. You may need to water them. Keep the compost moist, but not wet.
