Last Updated on June 12, 2023 by Real Men Sow
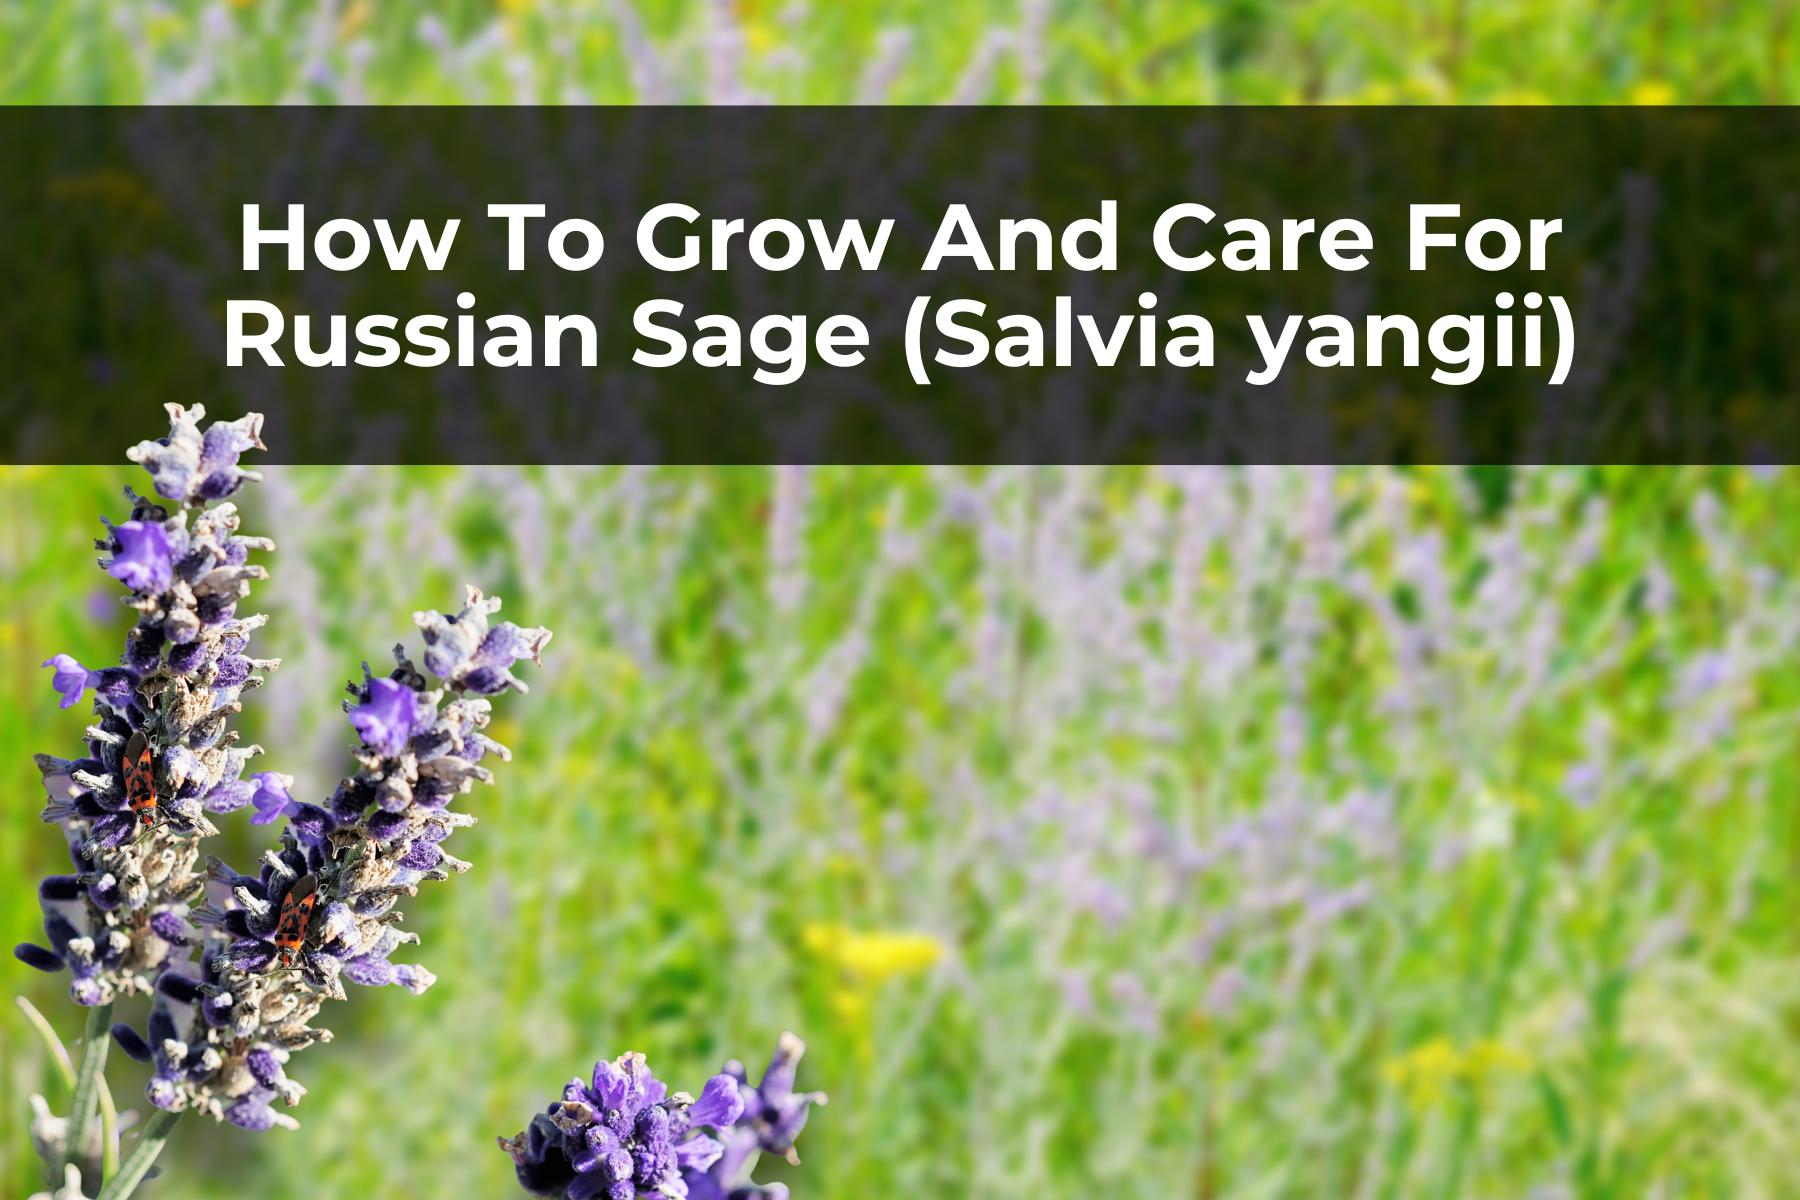
Russian Sage (Salvia yangii), a semi-woody perennial with a flowering stem, is part of the mint family Lamiaceae. It is used often in cottage gardens where it can be found among ornamental grasses or other flowering perennials.
Many gardeners love the smell of crushed leaves. Some describe it as similar to the common culinary herb, sage, or a combination thereof with lavender. The pollinated flowers eventually give way to small, dark brown, nutlike fruits. This plant is used in traditional medicine for fever relief and stomach upsets. However, its ornamental value is what makes it so popular today.
Flowers are edible and have a sweet, slightly peppery taste. They can also be used to make dye. However, the leaves may contain a toxic compound that should be avoided. Before ingesting this herb, it is a good idea to consult a qualified herbalist or a medical professional.
It is recommended to wear gloves when working with this plant, as it can cause skin irritation for some people.
Propagation of Russian Sage (Salvia yangii)
Russian Sage (Salvia yangii) can also be grown from seeds, stem cuttings or divisions of mature plants. It is also possible to transplant nursery or seedling plants into your garden. Under ideal conditions, established plants can self-sow and spread through underground rhizomes.
Please note that some cultivars are not allowed to be propagated without a license, depending on their patent status.
From Seed
When To Sow Russian Sage (Salvia yangii)
Russian Sage (Salvia yangii) seeds can be sown at any time throughout the year as long as they are indoors. If you plan to plant your seeds next season, it is a good idea to start them at least six to eight months before the last frost prediction in your area. Start by freezing the seeds in a plastic bag and storing it in the refrigerator for 42 days at 40°F. This will increase the speed and efficiency of germination.
How to Propagate Russian Sage (Salvia yangii) from Seed
Fill a tray with the seed mixture. Place the seeds in a layer of soil. Space them at least half an inch apart. If they become too crowded, you can thin them later. This is possible if they move around during watering. To ensure that the seeds are in contact with the soil, gently press them. You can cover the seeds with a thin layer of soil or sphagnum moss.
Place the tray on a flat surface with consistent temperatures between 60 and 65 degrees F. When you wait for the seeds to germinate while they are still in their covers, remove them from the soil and spray water from a spray can once or twice daily until the soil is dry to the touch.
The average time for seeds to germinate is 90 days. Sometimes, it can take longer. They may not have germinated if they are still not showing signs of growth after 120 days. If this is the case, throw them out and try again. The plastic cover can be removed once the seeds have begun to sprout. Place the tray in a sunny place or under a grow lamp. Continue watering as necessary.
Transplanting
Once the seedlings reach one-inch in height, you can place them in individual 12-inch pots with potting soil and some landscaping sand to encourage drainage. Transplant in the garden in the late spring or early Summer. The first year of flowering for plants grown from seeds will be the second.
After the danger of frost has passed, cold stratified seeds can be spread onto an outdoor area. The seeds will sprout if you water them gently.
From Cuttings
This method is faster than starting from seeds, yields satisfying results, and has a high success rate. Both softwood and semi-hardwood cuttings can be used for rooting. Each gardener seems to have their preferred method depending on the season, with reported success levels varying.
Softwood cuttings can also be taken in spring. Semi-hard cuttings, however, may be taken in summer. Use a pair of pruning scissors to take several cuttings measuring approximately four inches in length and use them. Place your cuttings just above the leaf nodes.
All leaves must be removed, except those at the tips of each cut. Any buds or flowers must be removed. If you like, dip the cut ends in powdered roots hormone. Russian sage can root without the use of supplementary rooting hormones. However, your success rate might be higher if you do. Each cutting should be placed in a 12-inch container that is well-drained and filled with moist soil or another soilless medium. The bottoms of each container should be about one inch deep
Your cuttings should be kept indoors at 60 degrees F. Within a few weeks, the cuttings will start to produce pale-white roots. As roots get established, new growth will be evident. In the meantime, keep the soil moist. When they are about a foot tall, you can plant the rooted cuttings in your garden.
From Seedlings/Transplanting for Russian Sage (Salvia yangii)
Russian Sage (Salvia yangii) can also be transplanted to the garden once the frost risk has passed.Before planting, harden any seedlings or roots. This can be done by taking them outside in a partly sunny, protected area for about an hour the first day. Then bring them back inside and increase the time they spend outside each day until they are able to stay out for the entire day.
If you are able to transplant plants in the ground, dig a hole about two-and-a-half feet wide by about one foot deep. Place the plant carefully in the hole. Fill the hole with soil and then water well.
From Division
Your plant can be divided every three years. It’s best to do this in spring or autumn. Divide your plant before it is in active bloom after the flowers have finished but before the winter. Before you divide in the fall, you might trim stems to a height of six to eight inches with a pair of clean garden trimmers.
Use a shovel to remove the plant from the ground. Make sure to dig out far enough to avoid causing any damage to the roots. You can also work in sections if you are unable to dig the entire thing up. Remove some soil around the roots to make it easier to see. Next, divide the parent into clumps that have roots attached. This will depend on how big your plant is.
Sometimes larger plants will need to be divided into multiple pieces. To keep roots moist, gently separate the roots with your hands. For each section, dig a hole as deep as the roots. To provide additional nutrients, add compost.
Place the crown of each division on the surface of a hole. As you work, pack dirt around roots, then replant the parent. Finally, water deeply.
How to Grow Russian Sage (Salvia yangii)
Russian Sage (Salvia yangii) can be grown in full sunlight soil that is well-drained. Depending on the cultivar, the spacing should be 18-24 inches apart. You can space hedge plants closer together. Airflow is important too. You may need to give your plants more space if you have wet weather. This will prevent the growth of fungal diseases and allow for faster drying.
This species can be grown in any soil that is not very good, including those that are rocky, sandy or chalky. However, it will thrive as long as the soil is moderately moist. Allow the soil to dry between waterings. If there is not enough rainfall, provide at least one inch of water per week.
Russian sage plants become more drought-tolerant in the second year. In severe drought or hot weather, you can add supplementary irrigation. Once plants are established, they will be quite hardy and have few disease or pest problems.
General Care Guide for Russian Sage (Salvia yangii)
Light
Russian sage should be grown in full sunlight for best results. The plant can become leggy and more prone to fall if it is exposed to too much sun.
Soil
These bushes are most at home in well-drained, dry soils, even sandy soil. However, they can develop root rot in poor, densely drained areas. These bushes prefer pH 7 or higher but will tolerate any soil pH from 6.5 to 8.0.
Water
Russian sage can be transplanted but will need to be watered regularly once they are established. However, Russian sage is drought-tolerant and will not require any additional care. Russian sage prefers dry soil, but will thrive in hot, dry areas. Russian sage won’t grow in poorly-drained soil or excessively moist.
Temperature and Humidity for Russian Sage (Salvia yangii)
It is native to central Asia and can be grown in plant zones 5-9. If you provide minimal winter protection, it will survive in zones 3-4. This plant will behave differently in warmer regions. Gardeners in zones 3-4 will treat it as an annual that falls back to the ground each winter.
Fertilizer
The plant can be grown in medium-dry to medium-drained soils. You might only add a thin layer of compost to the spring. Too much fertilizer, particularly nitrogen, can cause it to react negatively.
Pruning
Pruning should be done in the spring. Reduce the height of mature plants to 12-15 inches above the ground. To prevent unwanted volunteers from popping up, make sure you trim the flower stalks before they set seeds. You can also divide larger plants as necessary.
Pests and Diseases of Russian Sage (Salvia yangii)
If you’re looking for an easy-to-care plant, this is it. It is immune to most diseases and pests.
Insects
Aphids and leafhoppers, spider mites, and whiteflies can occasionally feed on Russian Sage. Slugs might occasionally appear in moist conditions.
They rarely inflict injury so they are not often listed as problematic pests. Its strong foliage and scent repel common insects.
Diseases of Russian Sage (Salvia yangii)
This is a sturdy perennial that is susceptible to very few diseases. Although rare, leaf spot, stem canker, and stem blight might occasionally occur.
Root rot is the most serious concern, and it is easily avoided. This is characterized by blackened leaves. This could mean your plants have been receiving too much water, or that the soil is not draining properly. Avoid excessive watering to prevent root rot and other fungal diseases. Water is at the base of the plants, not the foliage.
If the leaves and stems are falling apart, stake them. This will increase air circulation and help to dry the area. The dead leaves can be removed or let to fall from the plant. Keep the garden free of any fallen leaves. Reviving plants can be as simple as digging up and removing damaged or dead root sections. Toss all plants that are rotten.
