Last Updated on January 3, 2022 by Real Men Sow
Now, I’m about as far from a renovating Restoration Man hero as you could possibly get, but one thing I do like is an old greenhouse refurb. At my previous house, I inherited a knackered old greenhouse, with (amongst other things) endless missing panes, a broken vent, and a jammed-solid door. The inside harbored problems too. Once I’d cleared out the greenhouse, the shoulder-high weeds, there were other problems inside too, such as missing clips, buried junk, and shards of broken glass.
Why Should you Keep an Old Greenhouse?
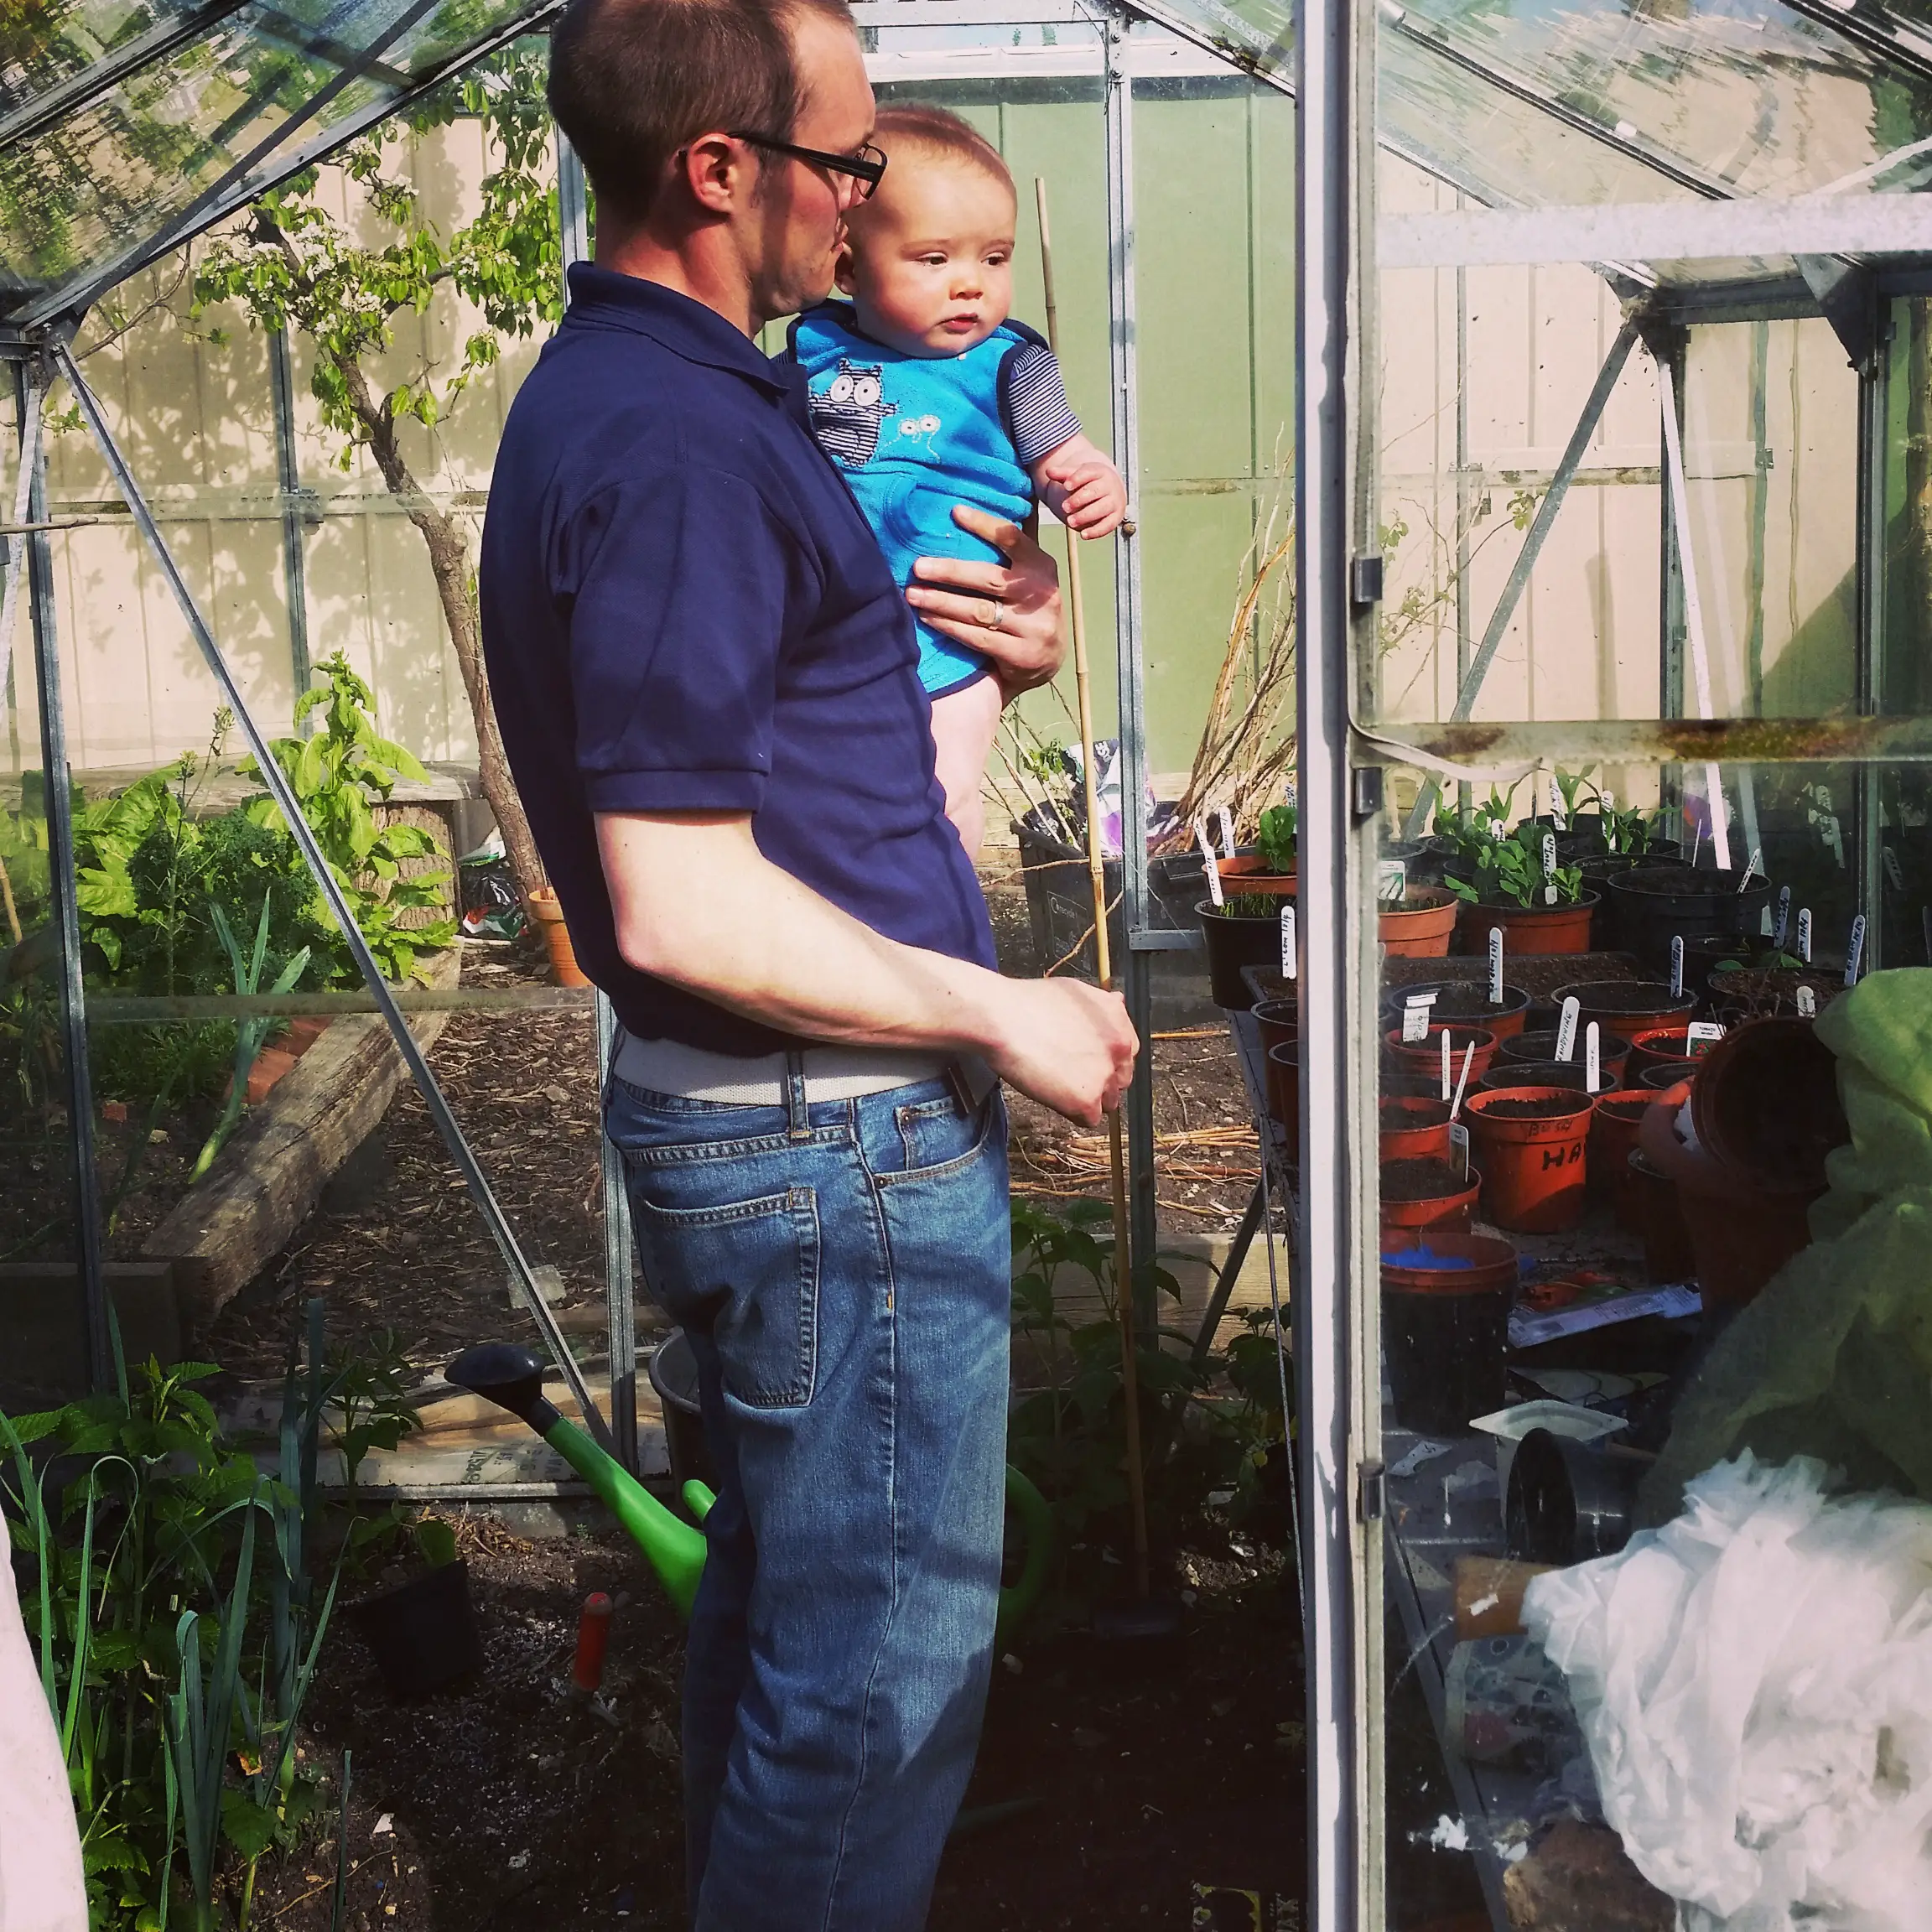
All greenhouses must be appreciated. They’re brilliant tools for vegetable growing, but they’re also expensive, so if you’re lucky enough to have one on your plot or in the garden, it is well worth going to the effort of repair. I’ve started patching up the greenhouse that is in my new garden, and I’m following most of the same tips and pointers as I did before. Here are 6 tips for getting a greenhouse ship shape.
Prepare To Protect Your Plants Whilst Working In The Winter
Although the weather is showing signs of getting milder, make sure that you protect any plants that you put outside whilst you’re clearing up. I tend to do greenhouse jobs on days when the weather is bog, so will put plants out of the way when carrying out my chores, but even a few hours in the cold can affect a plant that has spent the whole winter inside. If the winter weather is lasting a lot longer in your area, do consider getting a greenhouse heater to protect your plants and seedlings.
You really don’t want to lose those tender overwinterers that you’ve worked so hard to grow. Put them in a cold frame or cover them in horticultural fleece (bubble wrap is a cheap alternative), and get the plants back inside as soon as you can.
6 Tips To Refurb An Old Greenhouse
Make Everything Water Tight
There is nothing quite like pottering in a greenhouse when the rain is coming down outside, so making everything watertight has to be a priority. If you measure up the sizes of panes you need to replace those that are broken and missing, local glaziers will cut new ones to size cheaply.
Check and Clean the Existing Glass
When checking the panes that have survived the weather and errant footballs, look out for brittle glass and panes that have dropped down. Make sure panes are securely attached and check for missing bolts and clips. Replacement clips can be bought off eBay.
Give the glass a good clean with warm, soapy water. This clears the glass so that more sun can get in, and also helps kill off any pests and disease that are lurking. Remember to change the water regularly so that you’re not just re-spreading the dirty stuff back onto the nice, sparkly glass.
Inspect Frame and Base of the Old Greenhouse
Spend some time inspecting the greenhouse frame, especially where it meets the base. Look out for holes that will allow pests to sneak in as well as create a draft around your plants.
Clear Up the Greenhouse
Having a jolly good tidy-up is important too. Greenhouses can easily get messy, and old pots, dead plants, and other redundant stuff will also provide a home for pests and disease. Slugs and snails love nothing more than hiding in the nooks and crannies before venturing out to munch on seedlings after dark. Dispose of anything you don’t need and wash down everything you do.
Think About the Layout of the Greenhouse
Whilst you’re fixing up your greenhouse, it’s a good idea to have a think about how you want to arrange everything. When I repaired my previous greenhouse, I found it was heavy on bench space. I didn’t need all the space for what I was doing, so I took a section out and used the area for growing instead.
Someone to hang tools is always useful, and you might want a couple of shelves to store pots and other gear. Give some thought to where you do put everything though – as a clumsy bugger and I can testify to one or two lumps and bumps in the side of my head from poorly placed shelving…


That looks like a sizeable greenhouse ….lucky you. For my ( small ) greenhouse, i got staging with removable slats. I have the slats in place when it’s full of seeds but I remove them to allow air and light to the tomatoes / cucumbers, etc. I’m stuck with the staging in there as we assembled it inside the ‘house and it’s too big to get it out again!
I spent today clearing 8 bags of weeds from my daughter’s garden and have full understanding of the work in your new garden! ( But at least your efforts are for your own garden!)