Last Updated on August 2, 2023 by Real Men Sow
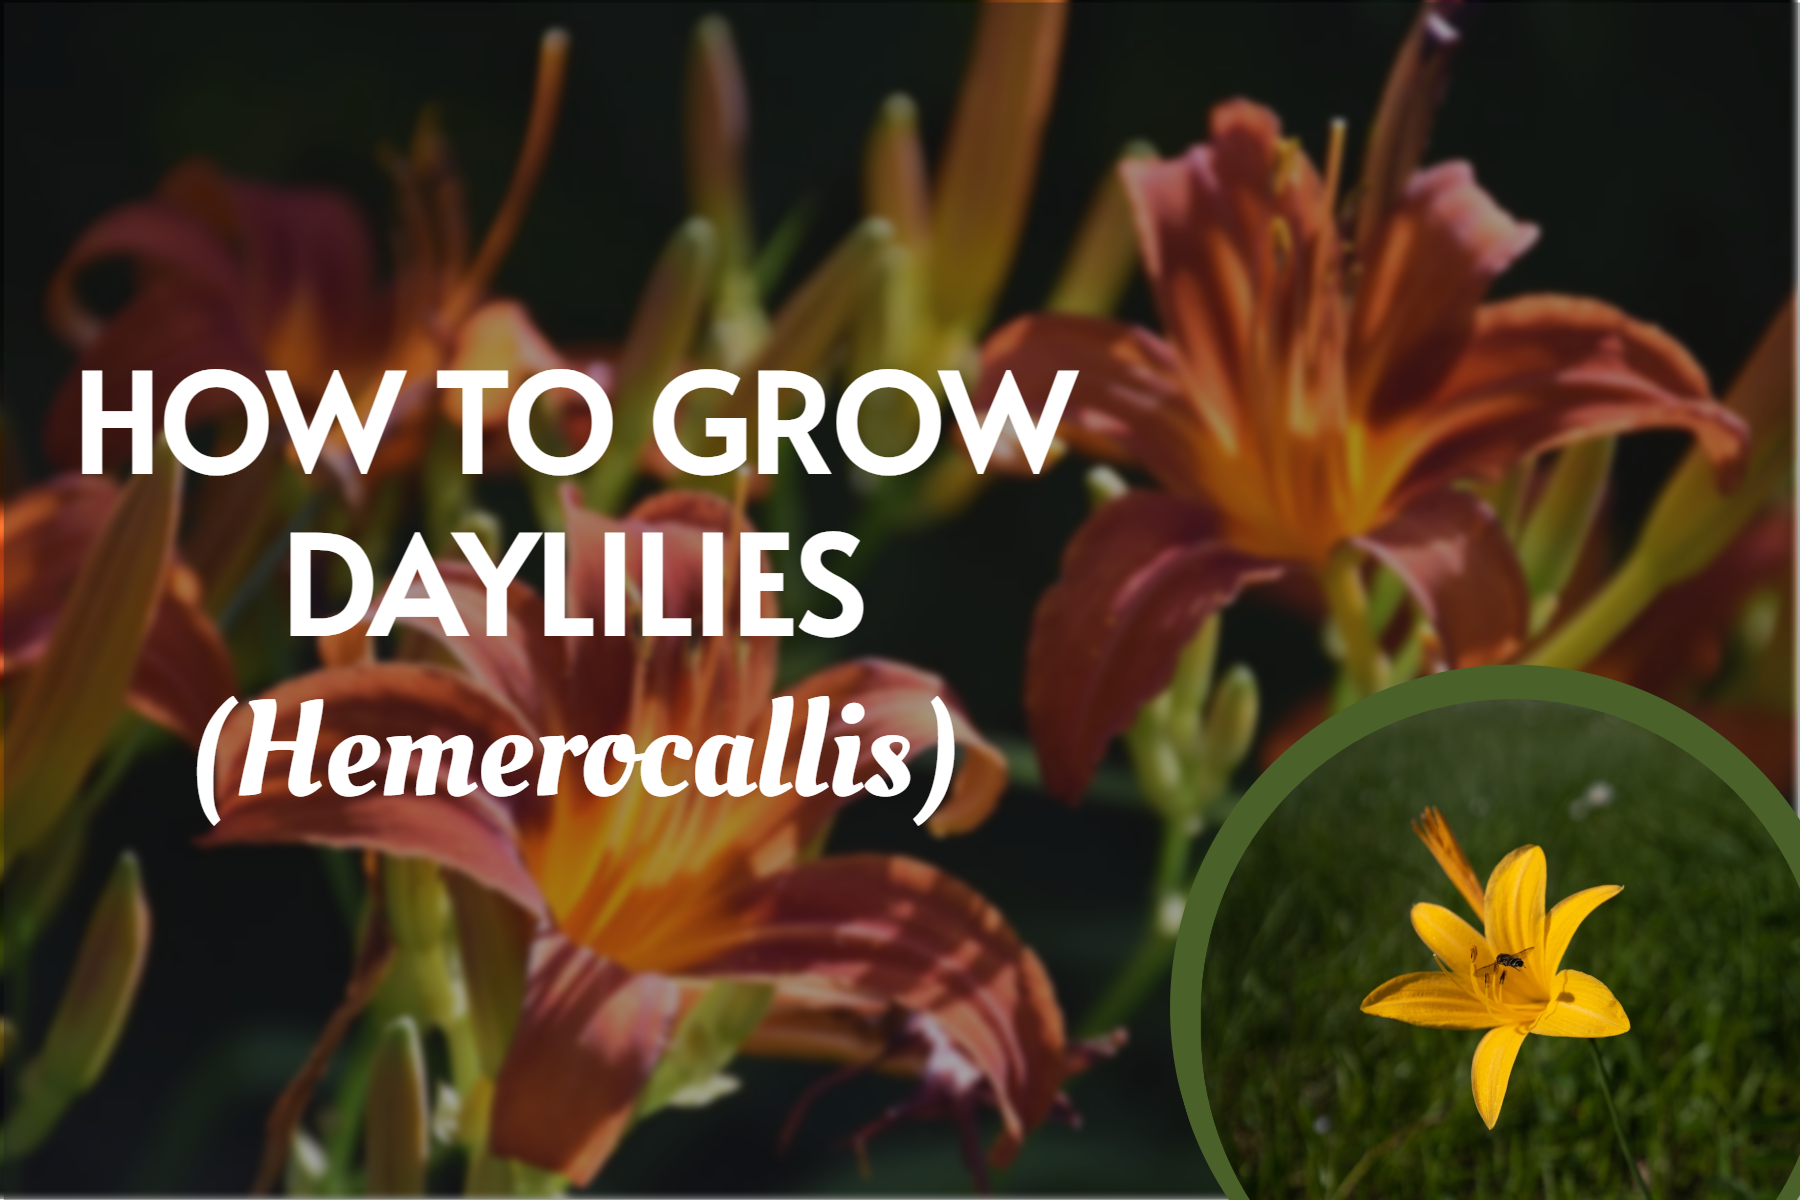
Hemerocallis daylilies are beautiful perennials that bear exotic trumpet-shaped, lily-like daylilies. Hemerocallis is a Greek term that means “beautiful for one” and the individual flowers last for only one day. They are replaced quickly by new, vibrant flowers that provide a great display of colour in the summer and fall.
What Are Daylilies?
Daylilies can be tough but easy to grow. They can grow in most soil types, require little to no maintenance and are not affected by most diseases and pests. The plants are drought-tolerant and prefer moisture. You may grow them in sunny areas and their foliage is usually evergreen in warmer climates. Because their leaves can cover the bulbs’ leaves, they are often planted near spring bulbs. Because of their dense roots, they make excellent ground cover plants for slopes.
There are many daylilies available in a variety of colours. They are great for combining with other perennials like rudbeckias, geums and bronze fennel, and look particularly good in borders with a “hot” colour theme. They look great with cannas, ginger lilies, and bananas. Some varieties can be scented. They are attractive to native insects, especially hoverflies, ladybirds and ladybirds.
Note: If ingested, all parts of the plant can be toxic to cats.
Growing Daylilies
Daylilies can survive in any soil, even clay. However, they thrive most in moist, fertile soils that are well-drained and receive full sun. You can also grow smaller varieties in containers. To keep plants strong, divide them every couple of years.
Location
Daylilies don’t care about the soil type. However, for best results, daylilies should be grown in fertile soil that is well-drained and in full sunlight for at least six hours per day.
Planting Daylilies
You may purchase container-grown daylilies that can grow in spring and summer. However, they can also be bought as bare-root plants online or at a garden centre with bulbs. These plants can be planted in winter from November through March.
Plant a container-grown tree by adding plenty of organic matter to the hole. Make sure the crown (or base) of the plant is at the same level as the top of the soil.
The Bare Root daylilies should be planted in pots with multipurpose compost and kept warm in a greenhouse or cold frame. After a few months, they will have a lot of leaves and can be transplanted to the garden. Pots with multi-purpose, peat-free compost are a good choice for smaller daylily varieties.
Care Guide
Mulch daylilies clump every spring with compost or well-rotted manure. This will retain moisture in the soil. Daylily plants should be kept hydrated during dry spells, but they shouldn’t be fed as this can cause them to produce more foliage than flowers. The spent flowers can be deadheaded, but the seed pods can be attractive on their own.
The whole plant can be cut back in autumn, but it shouldn’t look messy. If the leaves aren’t too messy, wait for spring. They can shelter insects during winter. Divide your daylilies every three-five years to keep them in good condition and give you new plants.
Propagation
Daylilies can be easily propagated by simply dividing them in spring and autumn. This helps keep them healthy and allows you to grow new plants. You can also divide them using two forks or a saw or knife. Daylilies (Hemerocallis).
Daylilies are generally easy to grow. Slugs and snails can cause damage to new shoots, but these are rarely serious problems. Hemerocallis gall-midge is a new pest that can inflict early-flowering plants. The flowers might not open properly if they are swollen. Any distorted buds should be removed and thrown away.
Your plant may need to be divided if it is not flowering well. This could also indicate that your plant is growing in too much sun.


