Last Updated on April 16, 2024 by Real Men Sow
Benefits of Growing potatoes in a no-dig manner
- It won’t take as much effort because you won’t have to dig trenches.
- The no-dig method of planting potatoes is easy and quick.
- It helps to nourish the soil. Mulch or compost can be added to suppress weeds and feed the soil as it is broken down.
- You don’t have to do extra work by humbling potatoes. Instead, you can add a layer of mulch or compost at a later time.
- The top layer of the skin will retain more moisture, so you won’t have to water as often.
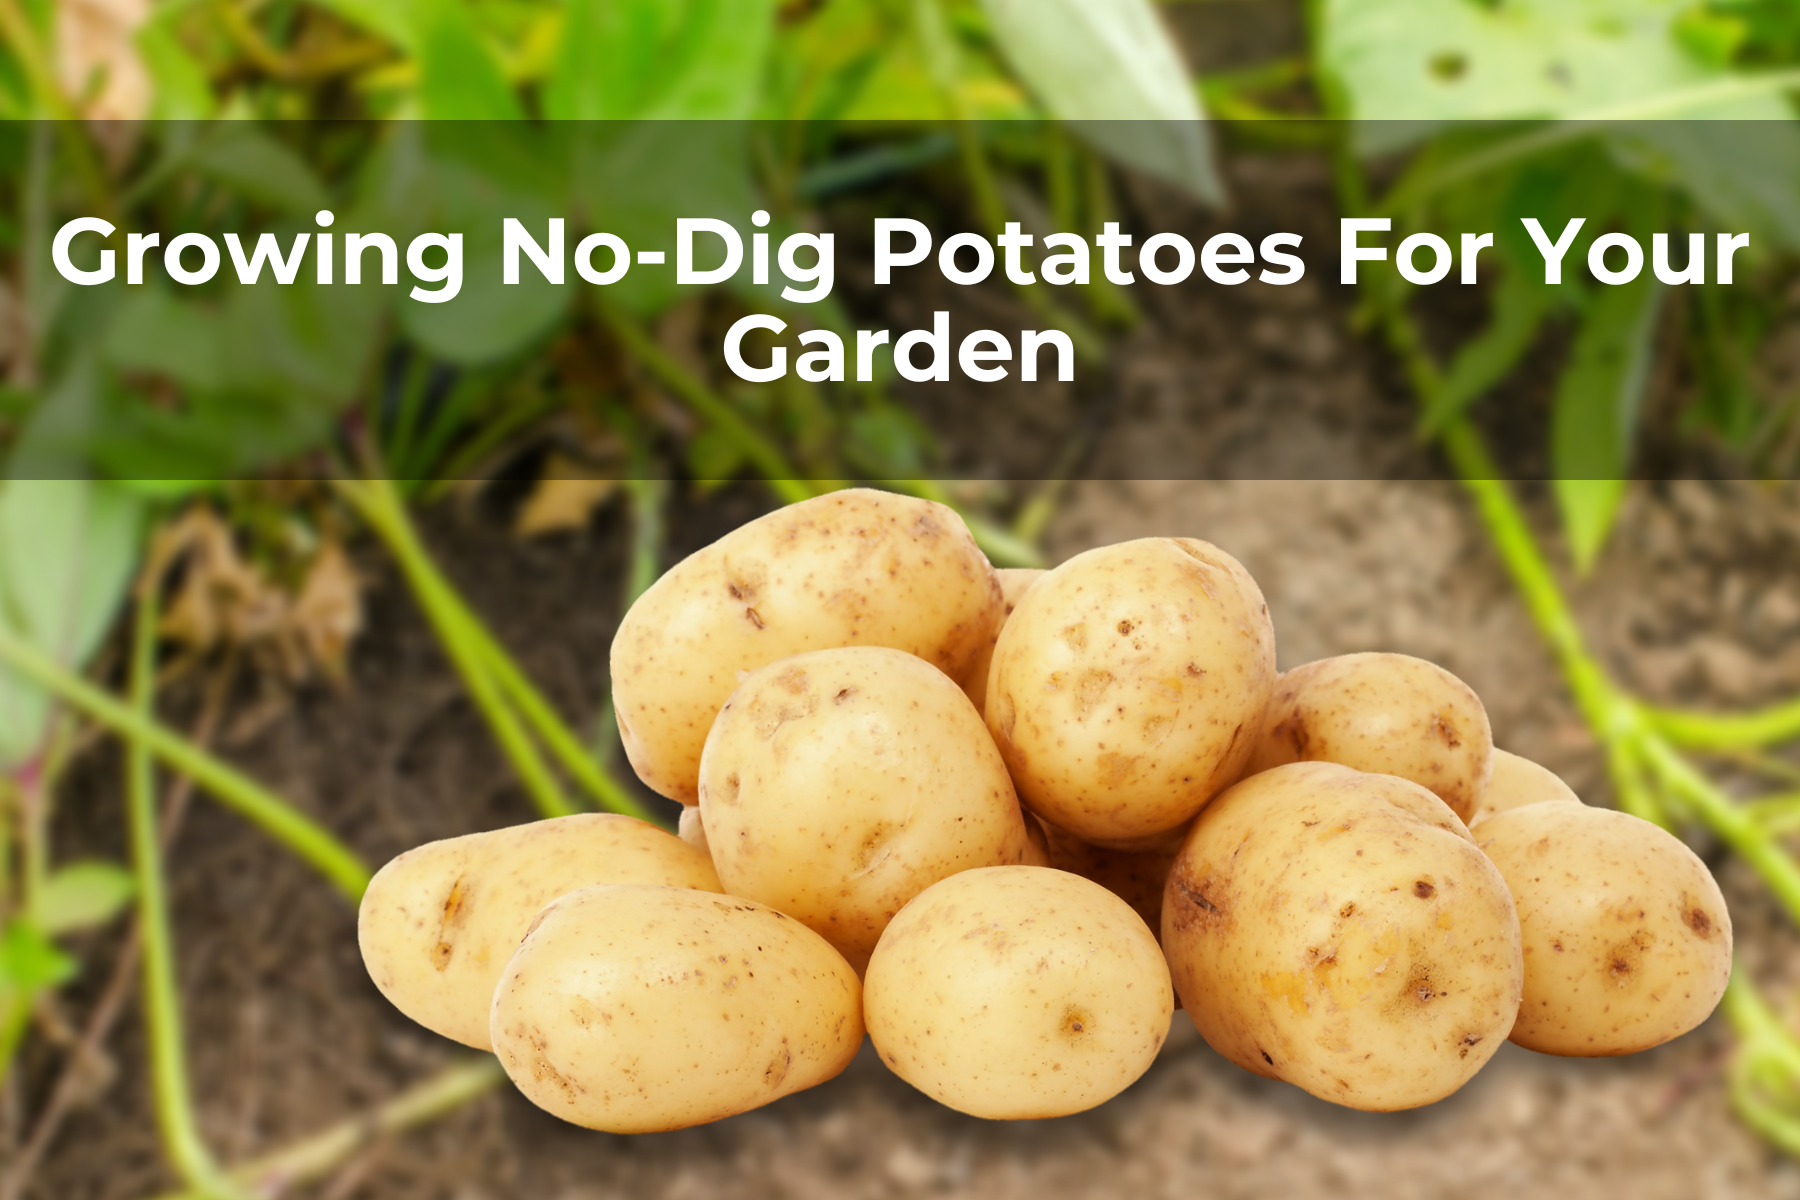
- Harvesting is easy – simply pull the plant out, and then search for tubers using your hands.
- You will have clean potatoes.
- Harvesting potatoes will be easier and you’ll avoid any fork damage.
Four Methods of Growing No-Dig Potatoes
Mulch Potatoes With Compost To Plant Them
Mulch your potatoes if you mulch most of the beds with straw, wood chips, or leaves. You may be able to access large amounts of compost or old animal manure. It is easy to grow potatoes in compost-amended beds. Prepare your beds by covering them with homemade compost, aged cow manure or horse manure. This should be done in autumn so that frost can loosen any clumps.
Two ways to plant potatoes into a garden that doesn’t require digging:
- A bulb planter is a quick and easy way to create holes.
- Use a trowel to push the compost out slightly. Once the potato is in place, hold the trowel.
Method Guide
- Depth: You should plant your no-dig potatoes at the depth of a hand-trilled trowel. That’s enough. Most likely, you will reach native soil. If you have good, friable compost, that is okay.
- Spacing: First earlies and second ears are 40cm (15 inches) apart, maincrop potatoes 45cm (17 inches) apart
- Timing: Mid-March for the first earlies, April for the second earlies, and April for maincrop. Your last frost date should be used to adjust your planting dates. Potato plants will not die from frosts but they will set back. Plants that were planted later than usual catch up quickly.
- Harvest: Increase watering at harvest time to encourage tubers to swell. However, it is best to harvest potatoes on a dry day in order to obtain clean, dirt-free potatoes. Take the potatoes off the plants and manually scoop them out.
No-dig will give you two layers of density in your raised bed: a fluffy top layer of compost and a deeper layer native soil. It is important to place no-dig seed potatoes with their ‘eyes’ facing upwards. Potato roots can grow upwards through firm, unaltered soil, but chits require the friability of the compost layer to flourish.
As your potato plants mature, you should check their soil every now and again to make sure they are not too dry. Potatoes that are exposed to sunlight will turn slightly toxic and become green. The no-dig method doesn’t require you to hill potatoes. You can simply add a few extra compost to problem areas or rake neighboring compost closer towards each plant.
Plant Potatoes In Straw, Wood Chips, Grass Clippings Or Leaf Mold.
Covering the potatoes with mulch is another popular way to grow no-dig potatoes. Sometimes you don’t have enough compost to make a good mulch, so use what you have. All other mulching options are excellent for growing potatoes without digging. Straw is the most widely used option. It is best suited for hot regions, where it is difficult to keep the soil moist during the hot summer months.
Garden Preparation
- Take out the weeds from your bed and rake up any soil clots.
- You can add homemade compost, animal manure, or any fertilizer you prefer – blood meal is a good choice for potatoes. However, other gardeners recommend chicken pellets.
- Chitting potatoes before planting gives you a head start.
- If you want to maximize the use of your seeds, cut them in half (provided that they have enough eyes on each side) and let them dry for a few days before planting.
- Place the potatoes at the desired spacing in the ground and push them in gently to ensure they stay put.
- You can cover the bed with straw or any other mulch up to 2-3 inches (8-8 cm) thick.
- To prevent straw, hay, or grass clippings from flying away, you can place temporary mesh or sticks. Once the mulch has consolidated, remove the weights.
- You can water the mulch well and continue to water it even during dry spells.
- Add more mulch when the leaf reaches 6 inches (15cm) in height. This will help to replace the old mulch that is starting to crumble or has begun to compact. Mulch can be added up to the tip of the plant.
- Simply push the mulch aside and pull out the tubers when it is time to harvest.
Mulch is great for potatoes because of several reasons. Mulch is great for many reasons. It breaks down and feeds soil life, locking in moisture. However, it doesn’t completely decompose by harvest. You can either reuse it or leave it alone to fully decompose. If you add it to your compost pile, it can bulk up the pile.
Use black plastic or cardboard sheet mulch to plant potatoes
Two options for starting a no-dig garden
- Use a tarp, cardboard, or black plastic to suppress the weeds. Wait at least six months.
- You can suppress weeds using black plastic or cardboard, and then plant a crop while you wait for the sheet mulch’s job to complete.
Black Plastic
Use black plastic to cut holes between 40 and 45 cm. Then, simply place your potato in the soil. Add compost or native soil to cover the potato. Be on the lookout for slugs who like to remain under the protection of black polyethylene. You should water your plants regularly. When it is harvest time, you can either remove the black plastic completely or cut it around the plants. Then, search for your tubers.
Cardboard
While sheet cardboard mulch is more eco-friendly, it requires a lot of soil to create a garden. Layer 2-3 layers of cardboard over the soil to be used as a mulch. Make holes in the cardboard, and then press the potatoes in. Add at least 3 inches of compost to the top of the potatoes. If necessary, add more compost. This is a similar method to “growing potatoes in compost”, but with the added benefit that you can start a new garden.
Container potatoes
Benefits of Container-Growing Potatoes
- These are portable so you can plant potatoes earlier in the greenhouse or polytunnel and then move them outdoors once the weather is warm.
- Unusual spaces can be made on your patio or lawn.
- A smaller area will yield a crop that is more compact.
Black plastic containers with bottom drainage work well for growing no-dig potatoes
- Plastic containers are more resistant to water vapor than grow bags.
- Sprinkle some mulch on top to lock in moisture.
- They are black so they heat up quicker in spring and will produce a crop earlier.
- They are lightweight and easy to maneuver.
- They are strong and can be used year after year.
Plant your no-dig potatoes into containers. Don’t fill the containers with soil before you add the potatoes. Mix the compost with some blood meal fertilizer and add two chitted seed potatoes to the bottom. Continue to fill the container with compost until it reaches the bottom. Add 2 more chitted potatoes. You can maximize your harvest at 2 levels. All seed potatoes will grow to the top.
