Last Updated on January 3, 2022 by Real Men Sow
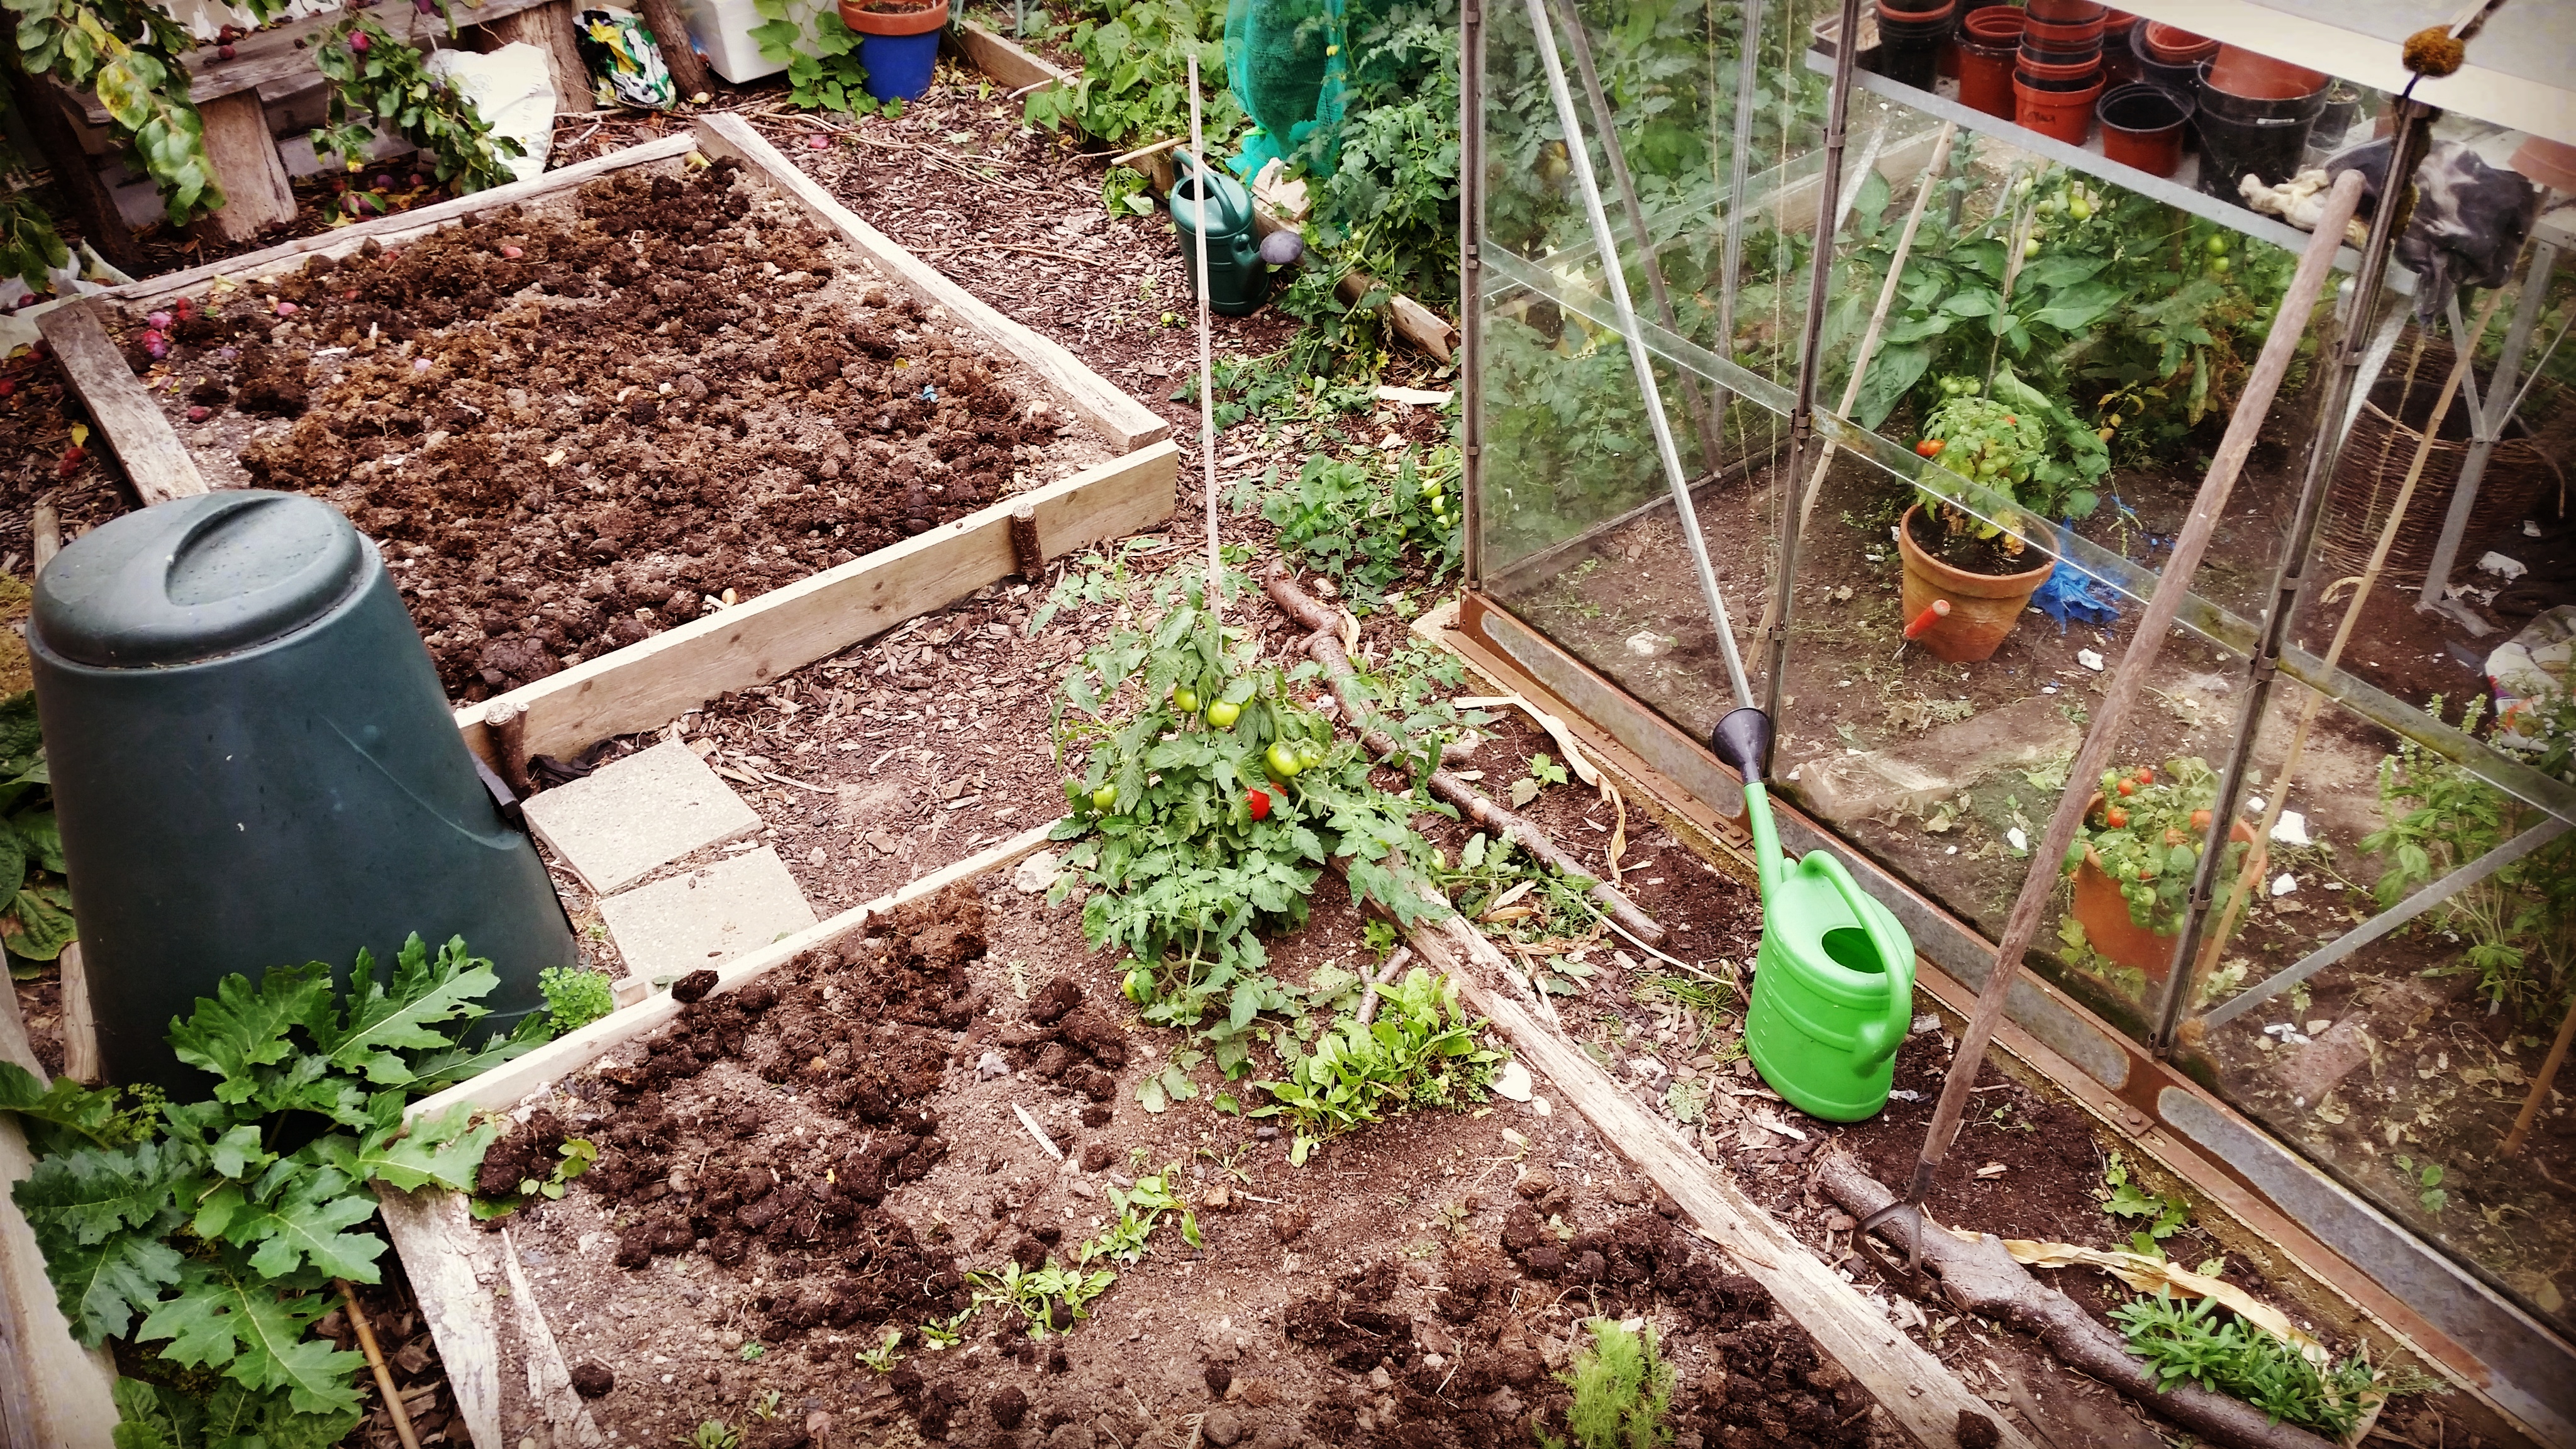
I’m a raised bed convertee, having used this growing system exclusively on my previous veg patch, and I’m beginning to build beds in our new garden in Somerset. There are a number of good reasons to use raised sleeper beds, including easier access and higher soil temperatures, but a significant drawback is the cost. Materials can be pricey, especially if buying new but if you’re happy to be patient and opportunistic you can pick up freebies as you come across them. If you’re still keen and your eye for a freebie is equally as keen, here are 5 of the best materials for building raised beds.
Raised Sleeper Beds
Sleepers make for a lovely ornamental garden appearance, but are very expensive and also very bulky so you’ll need a big electric saw to cut. Don’t be tempted to use old sleepers that are coated in creosote. When building my previous vegetable patch I was lucky enough to pick up some used sleepers that were being thrown out from an old garden, and they did look great. Being so sturdy they didn’t need any support either. Simply find a strong friend to help, cut the sleepers to size, and plonk them in place.
Build Raised Sleeper Bed with the Right Materials
Scaffold boards
Old scaffold boards are probably the most commonly used option for building raised beds and can be easily found as scaffolding companies can’t use boards that are damaged or split. If you don’t happen to know a friendly scaffolder, try eBay for local companies disposing of their boards.
Unfortunately, an old 13ft board will still cost over a tenner, plus you’ll have to find a way of getting them home if you’ve not got a trailer or roof rack.
Pallets
A much cheaper alternative is to construct beds out of pallets. I have seen this done before on a neighbouring plot, and although the timber is not as long-lasting as scaffold boards, pallets are plentiful and there will be hundreds laying around any given industrial estate. To build beds from pallets, you’ll need a crowbar to gently prise the lengths off. You’ll need thicker wood to make corner posts and then nail or screw the lengths into the corner posts. Add extra posts for support, double the height by using more lengths if necessary.
Bricks
Like pallets, free bricks are pretty easy to find, especially if you’re happy to do some skip diving or tip hunting. On the plus side, they are strong and durable, but unless you want the earth toppling them over you’ll need to learn some basic bricklaying. I love old bricks, but don’t forget you’ll need to be completely sure about your plot layout as once the bricks are in there isn’t any moving them!
Oh, and if you’re thinking of using bricks on an allotment, sound the committee out first as they might not be too happy with bricks being cemented in…
Paving slabs
Another durable alternative, paving slabs are relatively cheap but heavy to lift and requires more effort to install. A good 9 inches of the slab needs to be buried into the ground to keep it upright, and the soil must be packed back in firmly to stabilise the slab. You might want to consider joining each paving stone to align them too, or cementing them in. Again, have a chat with the allotment committee beforehand.
Raised Sleeper Beds
Of course, you can use a combination of all of the above. The combination can look a little on the higgledy-piggledy side, but allotments are naturally a place for unusual, resourceful solutions, so don’t let that put you off!

Old decking is another good one and can picked up on freecycle etc. A bit cheaper new in bulk too. I’ll be building mine soon.
Looks a great allotment area I have to say. I cant get away from my allotment at this time of year. Always a busy period. Getting ready for the winter, planting the potatoes, cabbage ect. But then you try to get the last of the sun and get the last veg you can. Great article, thanks for putting this together.
I love using old bricks to create raised beds. They’re strong and give a natural ‘historic’ look to our garden!