Last Updated on April 5, 2024 by Real Men Sow
It is wonderful to know that birds use your nest box for raising their families. Once you’ve attracted birds to your garden, you can watch them with miniature surveillance cameras. These cameras come in a kit and require no special skill to set up. After the camera has been installed, you can start watching the real-life drama on your TV.
Before Installing The Bird Box Camera
Bird nesting sites are important not to be disturbed during breeding season. This can lead to the abandonment of young birds and damage to the local population. You should only place a camera in a box if you are certain it isn’t being used by prospecting birds.
Which Type Of Bird Box Camera To Choose?
Budget
Cameras starting at around $40 are the cheapest. These cameras won’t produce the best HD or true-color images. However, you can also get HD images and the ability to view on your smartphone if you’re willing to spend more. To make your purchase easier, we reviewed the best budget bird box cameras a few months ago.
How Far Away Is The Nest From Your House?
You will need to determine the distance between your viewing area and the nest box before you can choose the camera type. Wireless cameras are limited in range, so this will help you determine how much cabling is needed. Wireless cameras require power sources. Measure the distance between the box and your TV, computer, or network router.
Where do you want to watch?
You can simply view live images on your TV with the basic kits. There’s also an option to add a capture device to your mix to allow you to record and watch on your computer. Advanced cameras let you view your smartphone or tablet via an app from wherever you are.
Wired or Wireless?
Wired cameras are more reliable and provide better images for a lower price. While wireless cameras don’t require as much cabling as wired cameras, they still need to be powered from the mains.
Types of Cameras Available
Wired cameras
The long-lasting cables used in wired bird box cameras ensure high reliability and high quality images. They also provide sharp video. These cameras can produce HD images, with varying image quality from basic to high-definition. Your budget will dictate your choice.
Wireless cameras
Analogue wireless cameras can be a great alternative to running cabling through your garden. The range of these cameras is between 25 and 30 meters. If you need to send further, you might consider other options. Wireless cameras must still be powered by mains electricity. You should also be aware of interference from other devices using the same frequencies as wireless cameras, such Wi-Fi.
Wi-Fi camera
Wi-Fi cameras offer HD digital images, without the interference of other wireless cameras. You can connect the camera to your Wi-Fi network. This allows you to view the camera on your smartphone, tablet, and computer. The app allows you to view the camera from any device with an internet connection.
How To Install The Bird Box Camera?
It is important to make sure that your camera kit works before you put it in the nest box. This will make it easier to diagnose any problems. Make sure you test your kit inside before installing it into the nest box. You can then take your camera outside and locate the box in the rough location.
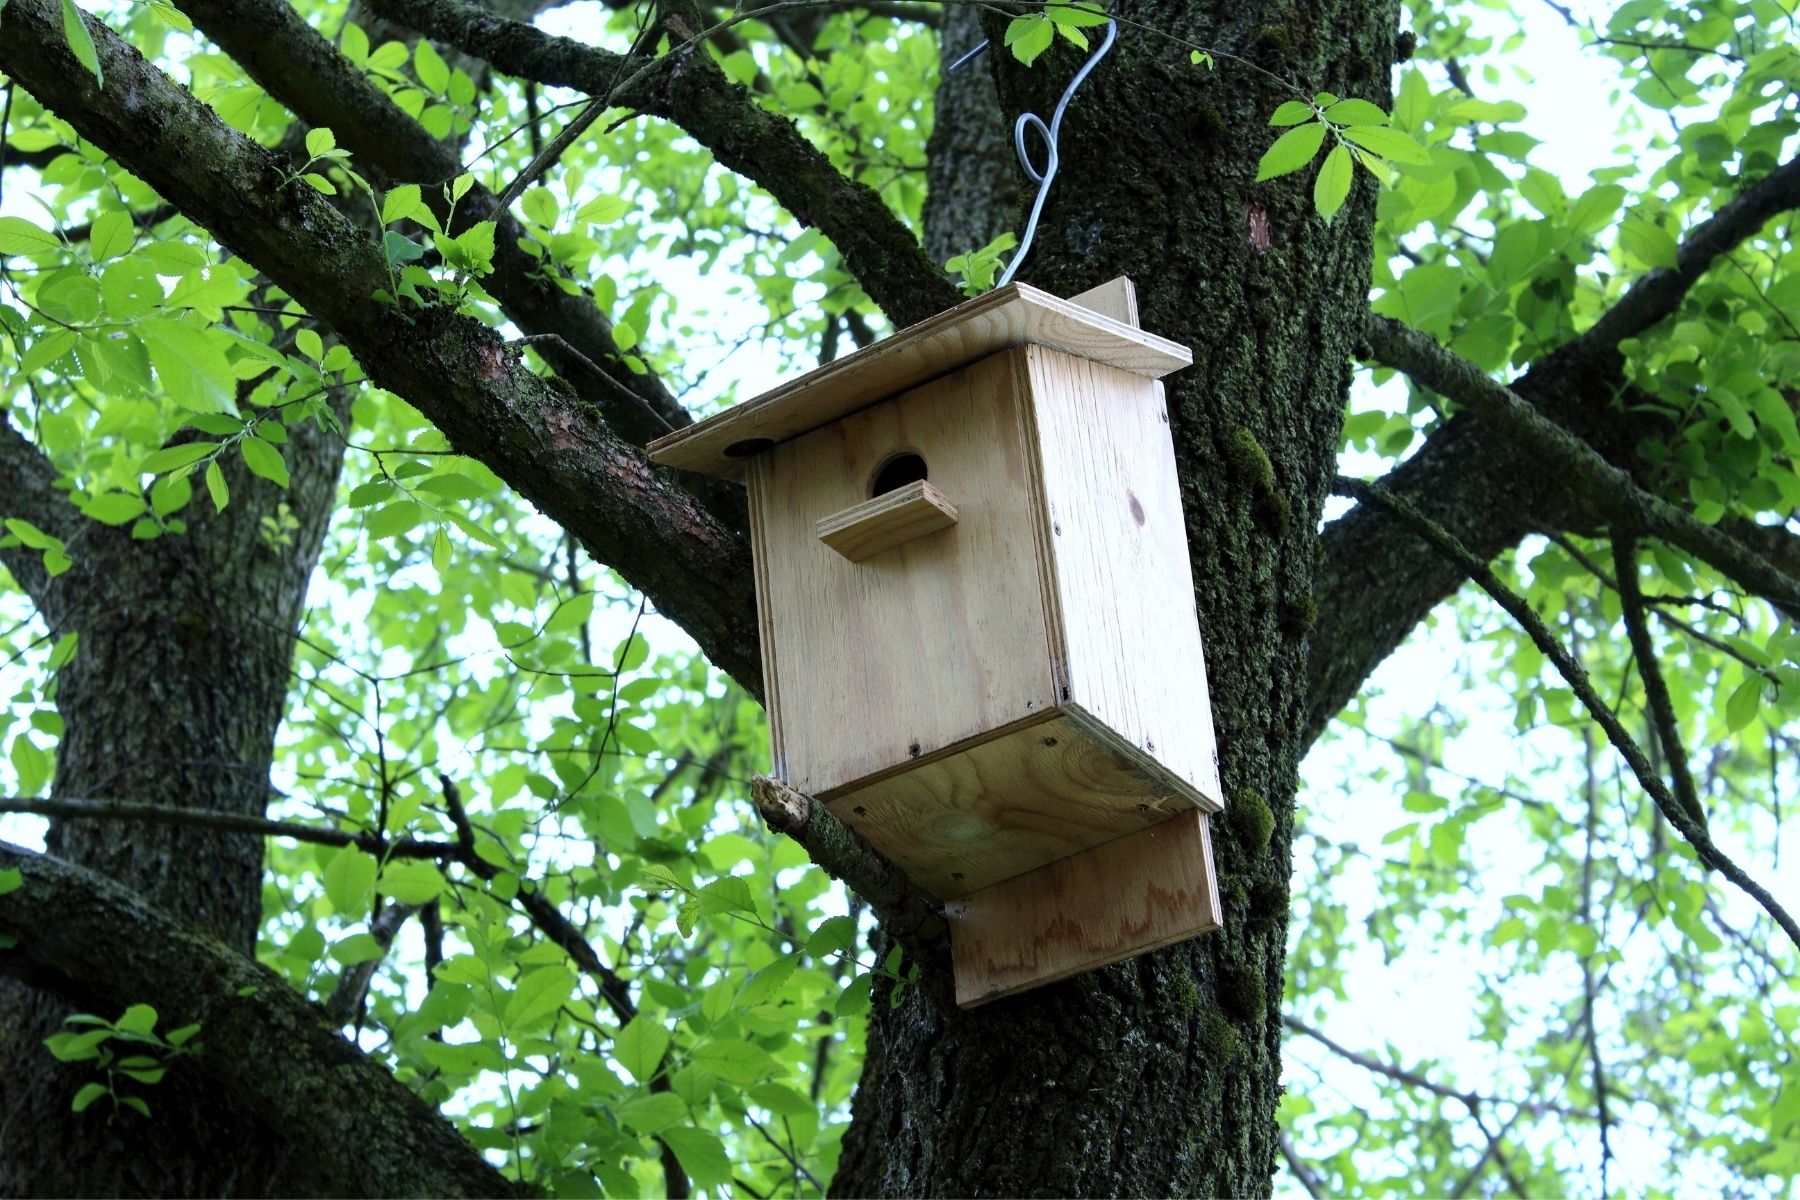
A bird box with a removable roof is the best. It makes mounting the camera much easier. Bird box cameras come equipped with brackets that can be attached to the roof. It’s as simple as attaching it using a few screws. Attach the bracket to the roof first, then attach the camera with the supplied screws. A LED lamp that does not disturb birds can be used to increase the daytime light inside the box.
Materials Needed
- Bird box camera kit, with fixings
- Drill
- Drill bit kit
- Hammer
- Screwdrivers
Step-by-Step Installation
- Camera is attached to a cable that needs to be threaded through the hole on the box side. Make sure to drill a hole large enough for the plug and lead.
- Through the hole that you have drilled, carefully thread the cable through the hole. You should not force the plug through the hole. If necessary, you can widen it.
- To ensure that the camera focuses correctly, mark the position of the camera according to the instructions. Make small holes to allow the screws to pass easily. Screw the camera to the box’s wall.
- To check the focus, connect the camera to your TV according to the instructions. To prevent pulling the wire, secure the clips and hang up the box.
Why Do I Have To Run Power Cables?
Cameras need to be powered by some kind of power source. Sometimes they can be powered with batteries, but this is not recommended as battery life tends to be short and you don’t want to constantly disturb the nest box while you change batteries. The only way to power the cameras 24 hours a day is via mains power. However, you will need to run a cable to connect the camera to the nearest power source. Although this may not be practical for everyone, you can purchase power extension cables at a low price that can be hidden underground.
Getting The Best Wi-Fi Signal For Your Bird Box Camera
It is possible for Wi-Fi signals to not reach all areas of your garden or house, especially if it is larger. If you have a Wi-Fi bird box camera, this can be a problem. You can extend the range of your Wi-Fi network to allow the camera to receive good signals in the garden. You might also consider wired versions if this is not an option.
