Last Updated on April 16, 2024 by Real Men Sow
Spring Cabbage is one of the first proper crops you’ll be able to harvest by Spring. They’re planted in Autumn to Overwinter, making them able to produce heads by Spring.
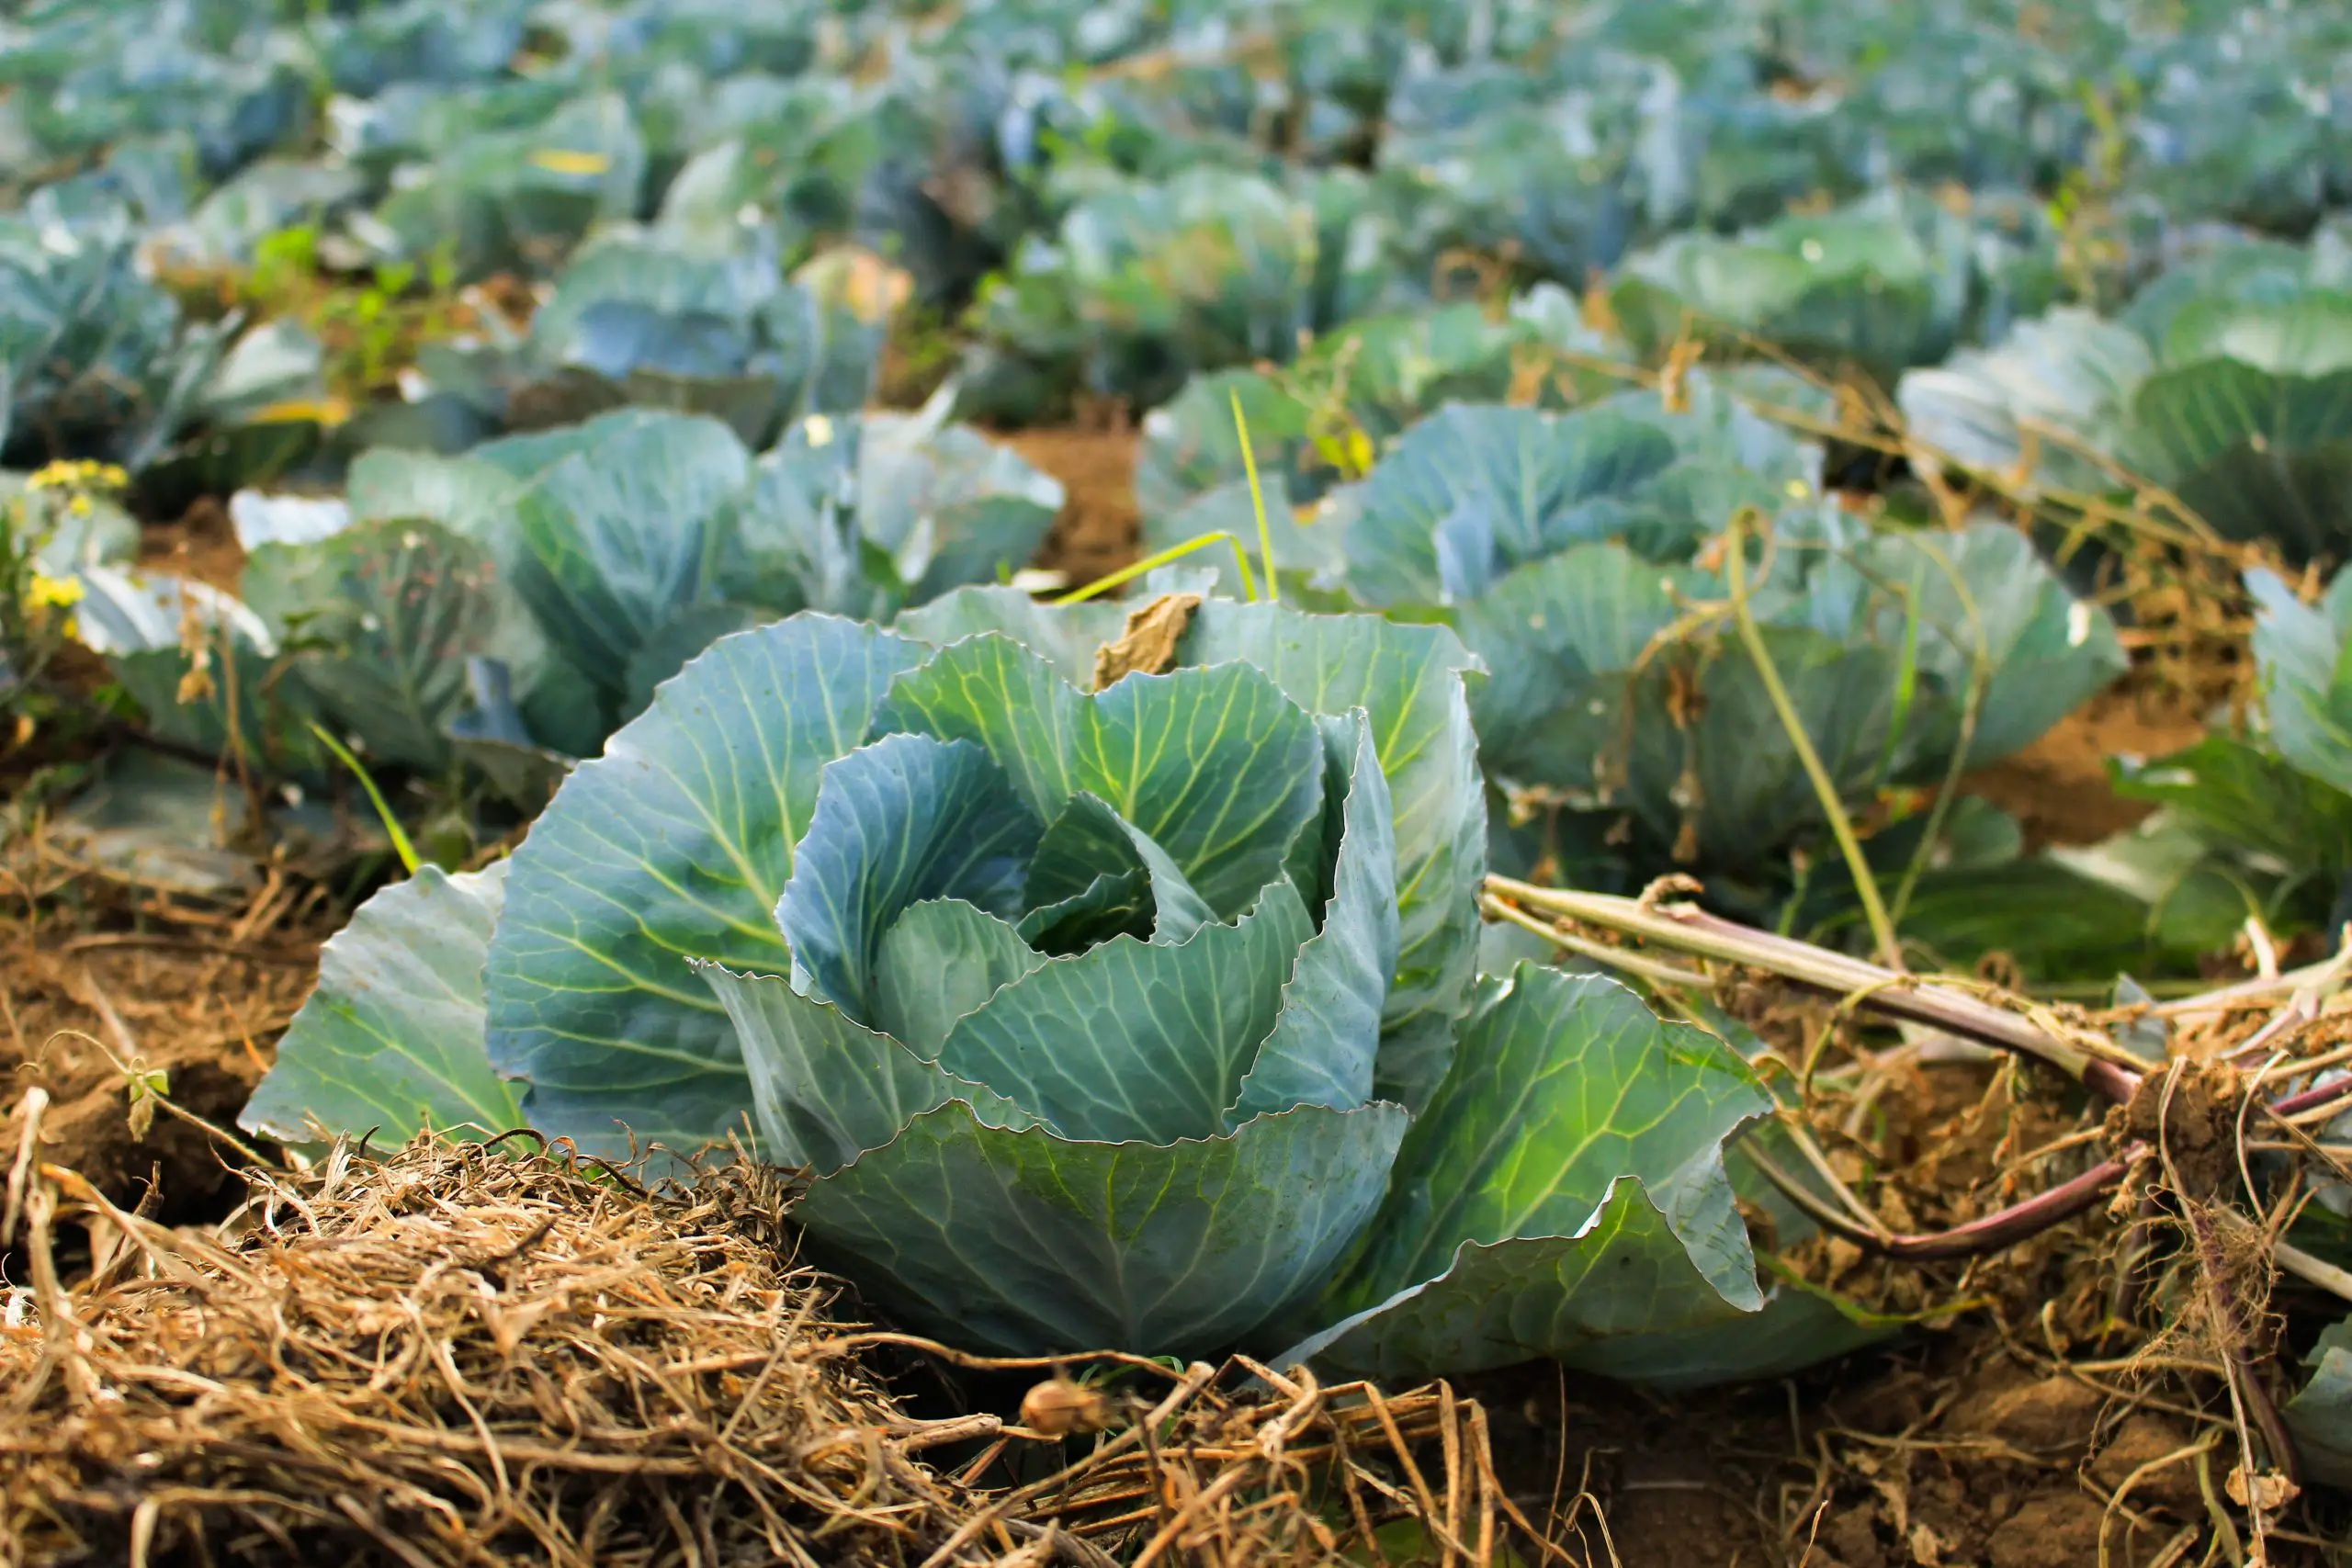
Choose the Right Soil for Growing Spring Cabbage
Cabbages take up a lot of space in a vegetable garden, they need 45cm – 60cm between plants and rows. However, spring cabbages are smaller than its summer varieties. The location should be fed with garden compost or well-rotted manure before planting them out or sowing.

How to Grow Spring Cabbage At Home?
You may sow directly to the place you want your cabbages to be, however, sowing them in modular trays is better. Fill in the seed tray with compost with your hands to break any lumps, then proceed to brush the excess off to leave a clean tray. Bang your tray to the table lightly to let it settle.
How Deep Should You Sow Spring Cabbages
Create small 1.5cm deep depressions in each cell. Sow 1 or 2 seeds per cell, if 2 seedlings emerge, remove the weaker one. Cover the seeds with another layer of compost, scape across the top of the tray to remove the excess. Water your seeds gently using a plastic bottle with small holes in its cap. Place the trays in your greenhouse, polytunnel, cold frame, or windowsill to let them germinate. Remember that they’ll be ready to be planted out in about 4 weeks.
How to Grow Spring Cabbage Outdoors?
Outdoor Sowing is done from mid-June to early July. You’ll have to sow 3 seeds in every 1.5cm deep depression, make sure they’re 45cm apart from all sides. After 2 – 3 weeks, thin out your seedlings, leaving 1 plant every 74cm. Make sure to cover the bed with fleece to protect them from pests until mid May.
Cabbage Seedling Care
Leggy Seedlings
Seedlings tend to become leggy, which means they become long and spindly. This occurs when your seedlings don’t receive enough light in accordance with the heat that they’re given. Make sure to give your seedlings a balanced amount of light and heat.
Grown on a Windowsill
South facing window sills, are those that receive plenty of light, therefore, the best place to let your seeds germinate indoors. Place any reflective material behind the tray to help daylight reflect to the dark side of the tray.
Grown Using Heat Mat, Propagator, Heating Cable
Remove your seedlings as soon as they germinate. If you’re growing them in a greenhouse or polytunnel, protect the young seedlings at night by putting horticultural fleece on them.
Thinning Seedlings
Pinch out or cut using small scissors the weaker seedling if two seeds are able to germinate in a cell. Avoid pulling them out, or you might risk damaging the other seedling
Watering Spring Cabbage
Keep your compost moist, but don’t soak them. Letting your seedlings dry should be avoided, the compost tends to form a crust on the surface that would stop the compost from letting moisture go through.
Hardening Off the Spring Cabbages
Hardening off means getting your plants used to more hostile outdoor conditions. Leave the plants outdoors on mild days, progressing to every day and finally all night. A cloche cover or Cold Frame is perfect for this practice as the lid of the frame can be opened when warm and closed down in harsh weather and at night. If you have started your seeds on a windowsill you will need to leave them in an unheated room for a day or two before moving outside to the cloche.
Can you harden off spring cabbages outdoors
This process helps your plants get used to outside conditions. You’ll have to leave your plants outdoors on mild days and gradually lengthen their time out until you can finally leave them out all night. You can also make use of a cloche or a cold frame
Planting Out Cabbage Seedlings
Spring Cabbages are best grown in fertile, moisture-retentive, and well-drained soil. You may grow them in a firm soil, but make sure you can add a well-rotted manure or garden post in Autumn to allow it to settle over the Winter.
Plant your Spring Cabbage 45cm between plants and rows. Your plants should be well watered before you begin to plant them in the hole about the size of its root ball. Add a slow release nitrogen-rich feed around the hole and the root zone.
The planting holes should be filled with water several times before you plant your seedling, to help your plant establish better. Don’t push the soil around the roots to firm them down to the roots, let it be so it can absorb moisture.
Make sure it’s a dull day or it’s night when you transplant the seedlings. Transplanting them out in the hot weather might make them wilt.
How To Care For Spring Cabbages
Use an oscillating hoe to clear the weeds that may appear on the soil. Doing this also helps your plant get more nutrients from the now refreshed microbial life in the soil. Any yellow or discolored leaves should be removed to prevent them from harbouring disease.
Earth up the cabbage stems as winter approaches to support them from strong winds. Keep an eye out for cabbage white butterfly eggs below their leaves, brush the yellow eggs off as soon as you see them.
Remove any yellow, discoloured leaves from the plant as they may harbour disease which will spread to your crop.
Thinning Spring Cabbage
Remove every second cabbage in March to leave the remaining ones for April or May harvest. Spreading Seamungus poultry manure pellets or an organic seaweed liquid feed is best for them at this stage.
How long Does it Take for Spring Cabbage to Grow?
Spring Cabbages are more on the conical shape side than Summer Cabbages, therefore, they may be ready for harvest earlier than you think. Cut their stem close to soil level to harvest cabbages, cut a deep cross in the stump you left after to get mini cabbages for a little later.
Dig up the root after your second harvest and it’s best to burn them rather than composting the old stem.
