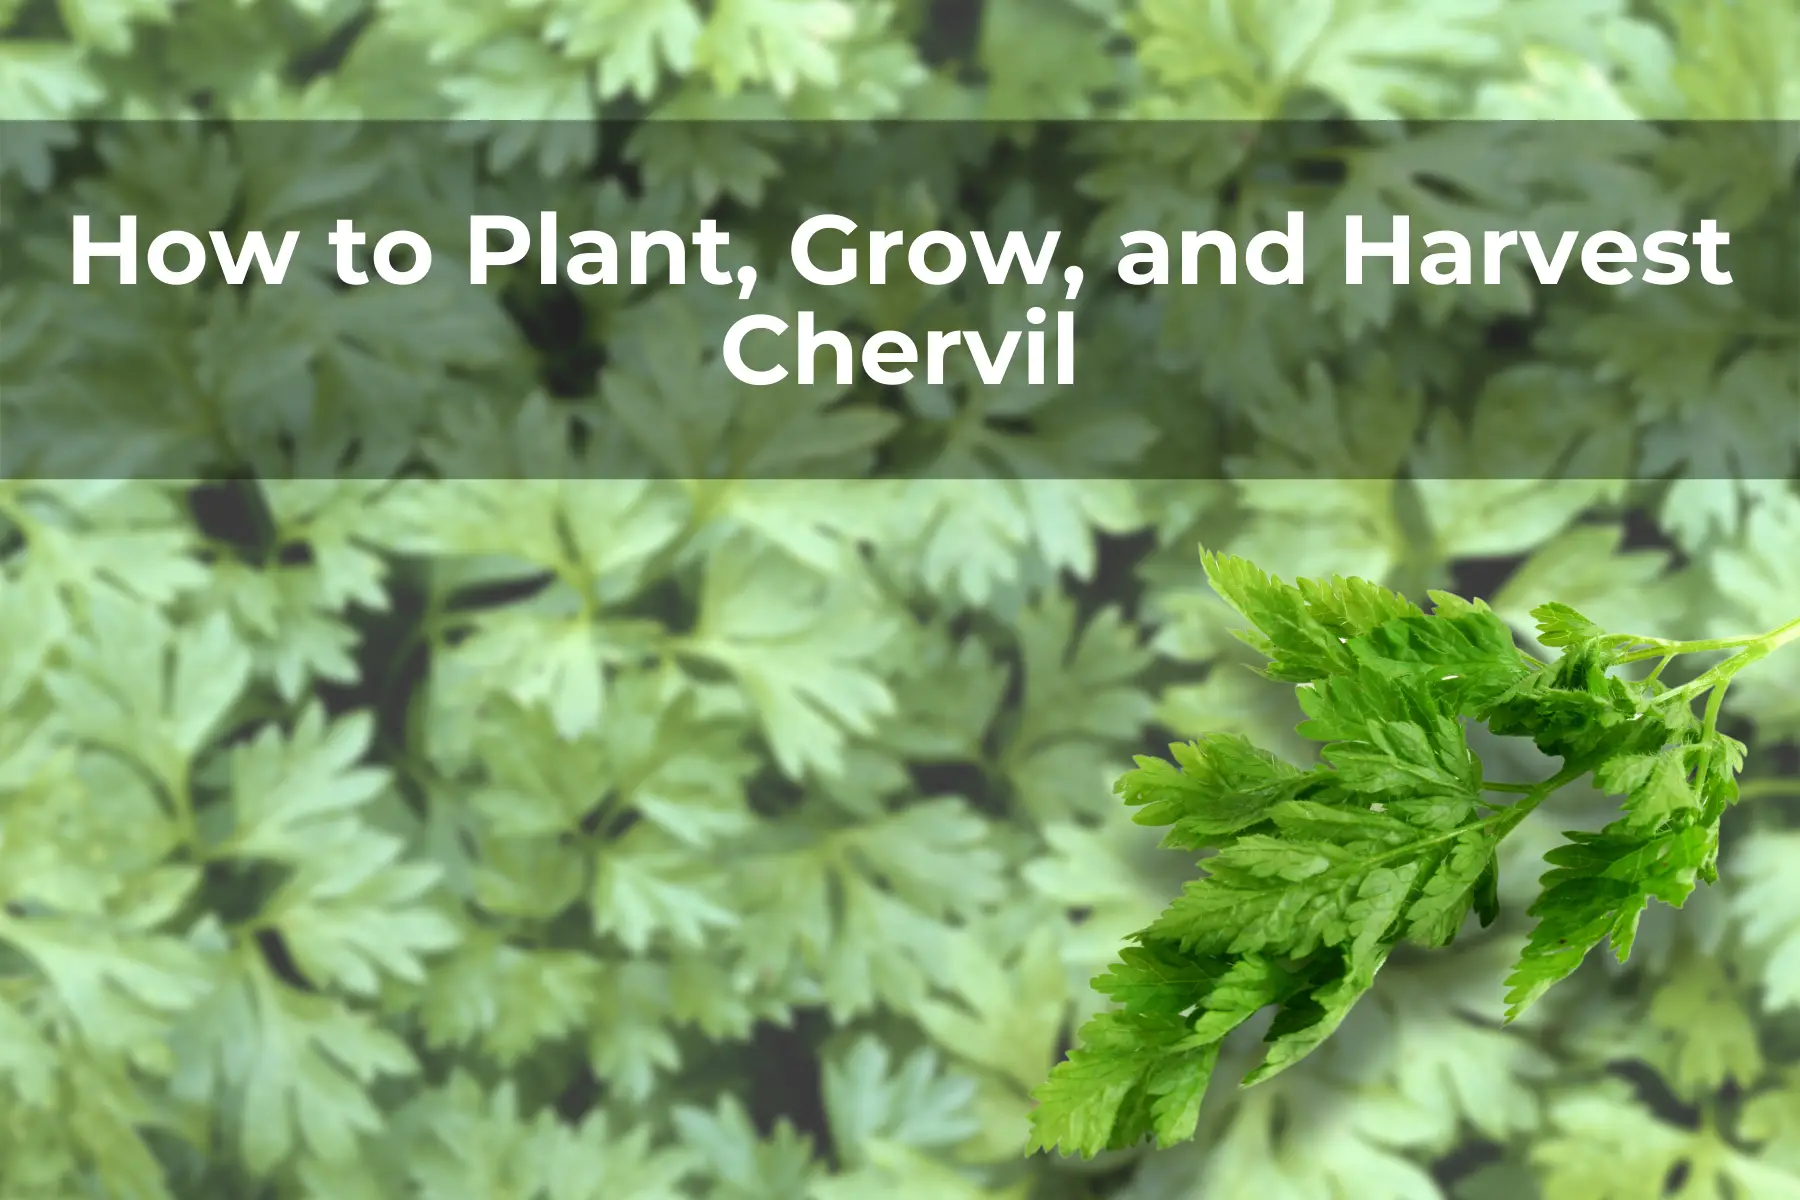
Last Updated on April 15, 2024 by Real Men Sow
If you’re new to gardening herbs, growing chervil might be a surprise to you. Chervil is a gentle herb that has a myrrh-like scent. The finely divided leaves can be used fresh in salads or as a flavour enhancer for fish, chicken, and egg dishes. Delicate herb is a French culinary staple that includes parsley, chives and chervil. Dried leaves of chervil are a part of fine herbs. Parsley can be substituted for chervil; chervil has a sharper flavour than chervil.
Growing Chervil: Where is the Best location
Cool temperatures are the best environment for Chervil. Please avoid a location with direct sunlight. Plant them in well-drained, humus-rich soil. But before planting, add compost to your planting bed. Chervil likes soil pH between 6.0 and 6.7.
Growing Chervil: When is the Best Time
Seed starting indoors
You can start chervil seeds a few weeks before spring’s last frost. For transplanting out after the last frost, chervil can be started in individual containers. To avoid disturbing the taproot at transplant time, use individual pots. The taproot may be damaged, and the plant could bloom prematurely. You won’t need to cover the seeds for germination to occur. Germination can take 7 to 14 days.
Transplanting to the garden
After the last frost in spring, transplant chervil into the garden. Be careful not to disturb taproot.
Outdoor planting time
As soon as you can work the soil, sow the chervil seeds directly in your garden in spring. You can sow chervil seeds in spring and then do second sowing in the middle to late summer in cooler regions. You can also sow seeds in the fall for germinating and growth in spring.
Things to Consider in Planting Chervil
Planting depth
Sow chervil seeds 1/4 inch deep and three inches apart. Place seeds on a fine soil bed or sprinkle seeds on top of fine vermiculite.
Spacing
Space the plants 6 inches apart. When plants are 3-4 inches tall, thin them from 8-12 inches apart.
How much to plant
For cooking, grow six chervil plants. Sow seeds at 2-week intervals to ensure a continuous harvest. For preservation, grow 12 plants.
Companion Plants
Chervil helps repel slugs, as well as keep ants from eating lettuce. They can also enhance the taste of radishes.
Watering and Feeding for Growing Chervil
Watering
Keep the soil evenly moist; do not let the soil dry out when growing chervil.
Feeding
Before planting, prepare the planting beds with aged soil. Side-dress chervil with aged soil during the growing season. You won’t need any other additional fertilizer.
Care and Maintenance for Growing Chervil
Care
Cover chervil seeds and plants with a floating row covering to prevent birds and rabbits from eating young plants. Prolong the growth of your plants by pinching off flower stalks later in the season. Cut out flowering stems to keep the plant’s energy channelled to leaf production. Long flower stalks indicate the plant’s end.
Mulching
To keep the roots cool in hot areas, mulch should be 4 inches deep. Mulch should not be placed near the plant’s base to prevent crown rot or earwig damage.
Growing Chervil Pests and Diseases
Pests
Chervils could be attacked by aphids, carrot weevils, and earwigs. Use intense water pressure to remove aphids from plants. You can trap earwigs by wrapping a piece of newspaper in moistened paper and then washing them with soapy water. Place a floating row cover on the seedbed to prevent the taproot from being attacked by the carrot weevil larvae.
Diseases
When temperatures are high, leaf spots can occur in Chervil. To improve drainage and air circulation, plant in raised beds.
Harvesting Chervil
When to harvest
Chervil leaves should be harvested as soon as they are 6 inches or higher, approximately 6-8 weeks after sowing. Chervil leaves are most flavorful when harvested before the plant flowers. Cool-weather is best for harvesting leaves. Regular harvesting of leaves will prevent the plant from blooming too quickly.
How to Harvest
Cut off the chervil leaves at their base using scissors or a knife. To extend the harvest period, remove flower stalks.
Chervil in the Kitchen
- Flavour and Aroma: Chervil leaves freshly picked have a warm and zesty flavour. The fragrance is anise-like, and the taste is reminiscent of tarragon.
- Leaf: The freshest chervil leaves are the best. You can use chervil leaves to make soups, stews and potato dishes. They can also be sprinkled on pork, veal and fish and used in egg dishes. For salads, mince fresh chervil leaves. As you would, parsley and chervil can be used in salads. The flavour of carrots and cream will be enhanced by chervil. Use leaves in butter, sauces, vinegar, or other fats.
- Cooking: To preserve the flavour of the leaves, add chervil leaves to your dish at the end or before you serve it.
Preserving and Storing Chervil
- Refrigeration: Cover fresh chervil with damp paper towels and then wrap it in plastic to keep it in the fridge for up to three days.
- Drying: Leaves should be dried on a screen in a dry, cool place with good air circulation. Dry leaves can be just as tasty as fresh ones.
- Freezing: Place leaves in a bag and freezes them. You can use fresh or frozen Chervil leaves. Leaves can be frozen in butter or ice cubes.
- Storing: Keep leaves in an airtight container.
Chervil Propagation
Chervil seeds are self-sowing and may be able to grow on their own. For self-sowing, leave a few seeds heads on the plant. Seed should be sown at regular intervals, from the early spring through early summer, and again from the late summer into early fall to ensure a constant supply.
