Last Updated on October 8, 2022 by Real Men Sow
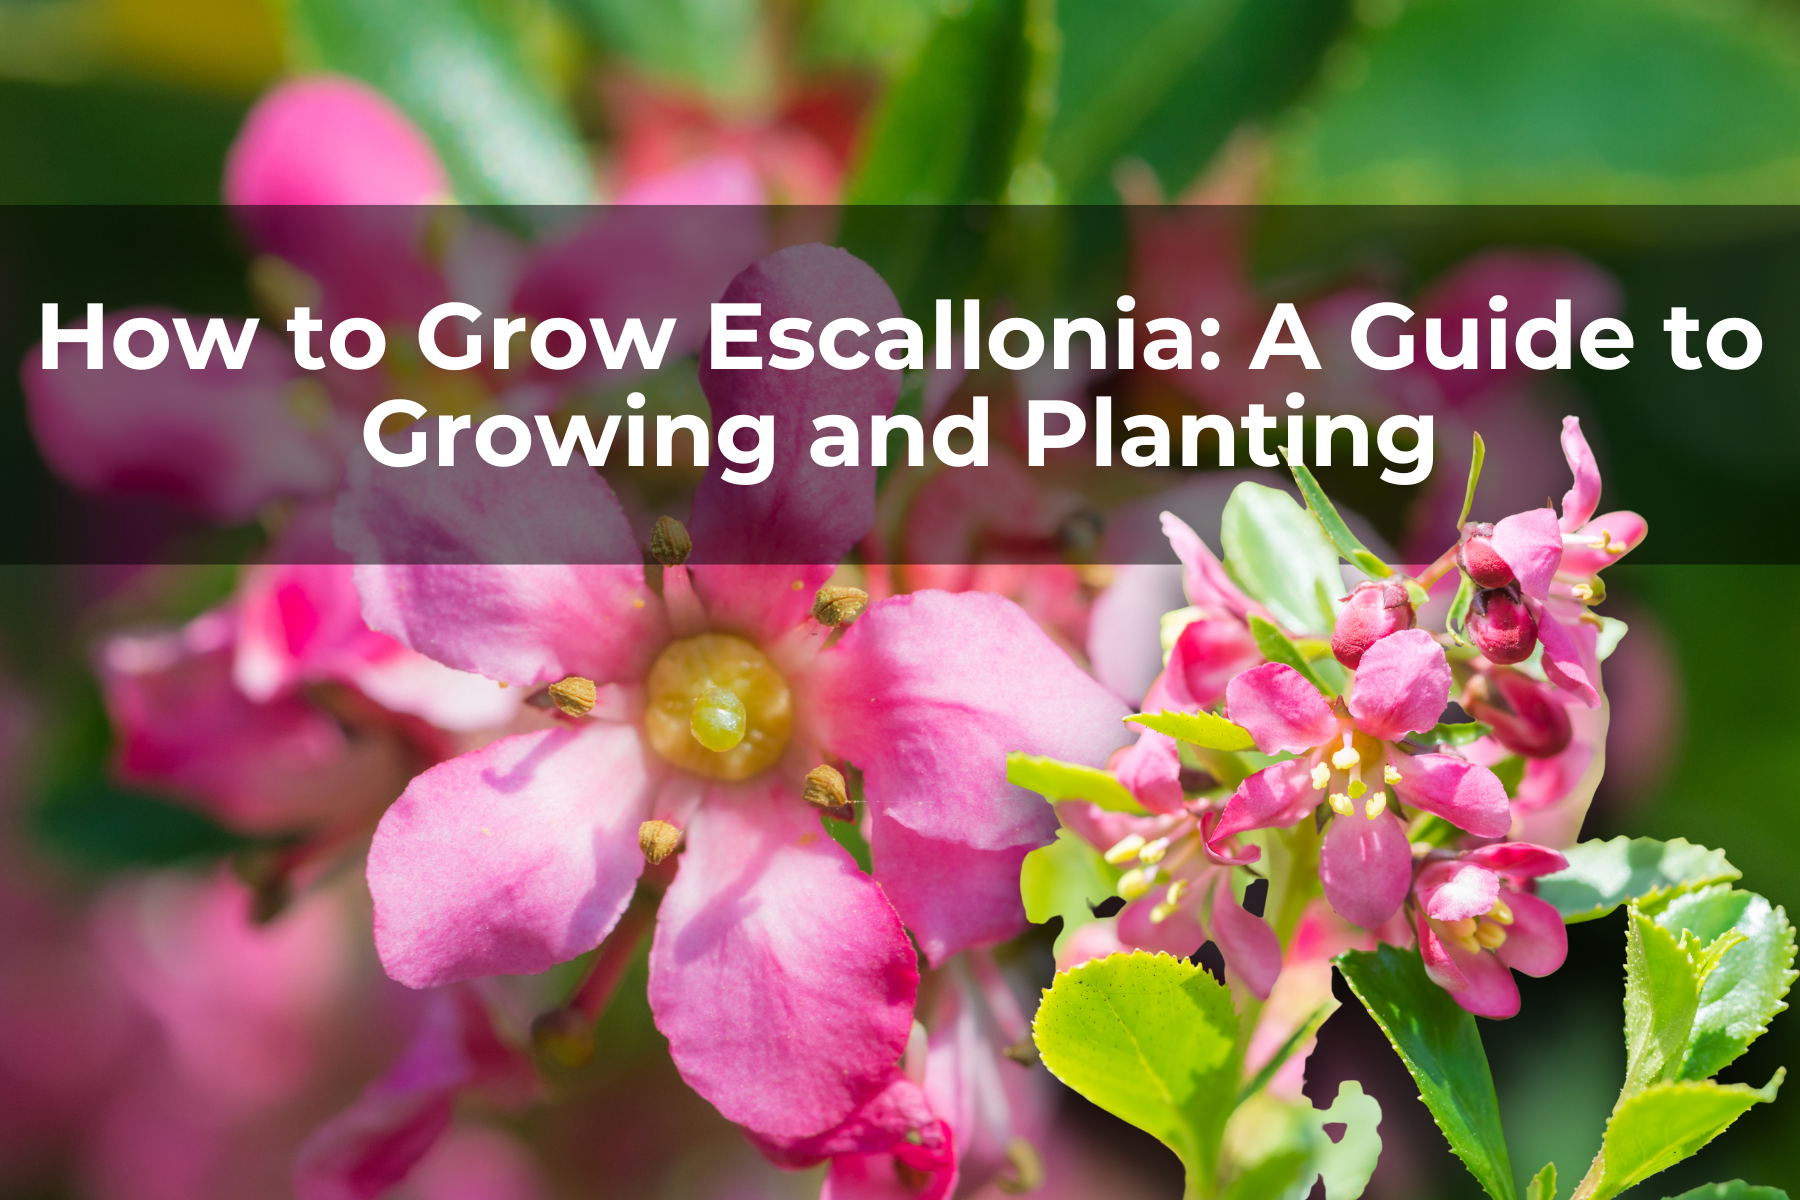
Escallonia is an evergreen flowering shrub that can be used for hedging purposes in the UK. It has glossy, dark green leaves and sweet-scented flowers that can be found in pink, white, or red shades. Escallonia rubra is the common name for this red species.
Escallonia Planting Time Frame
To avoid frost damage, the best time to plant escallonia is mid-late spring. After planting, add a good fertilizer to the soil and water the plant until it is established.
To create a hedge, space seedlings between 30-40 cm apart in single or double rows to ensure root establishment. Escallonia plants can grow fast and establish quickly. They may reach 50cm in the first year.
Escallonia Conditions to Thrive
Its natural habitat is South America where it is found mainly in Chile. However, it can be cultivated and naturalized in many other parts, including New Zealand and western Europe.
Although it is generally hardy, the ideal conditions for growing are sunny, warm, and protected. Although it can grow in any type of soil, it prefers fertile soil that is well-drained and moist.
Escallonia Care Guide
Escallonia is a hardy plant that can be grown in almost any part of the UK. It does not require much care once it has been established. You can use it as a specimen, a part of a garden border or as hedging.
Light and Temperature Requirements
Although the plant can tolerate both full sun and partial shade, it prefers a sunny spot. It is best to place the plant in a south, west, or east-facing position. Avoid north-facing positions as they are less likely to provide enough sunlight for it to thrive.
If the area is protected from the elements and dry, escallonia can survive temperatures as low as -10degC. The plant will need to be protected if temperatures fall below this level.
Soil Type
Escallonia can grow in any soil type, including clay, loam and chalk, and in all pH levels. Mix in some blood, fish, and bone fertiliser to ensure your plant gets off to a good start. Escallonia likes soil that is moist but not waterlogged. For the first year, make sure your garden has good drainage and keep it clear of weeds.
Watering
To prevent young roots from drying out, you may need to water your escallonia for the first two years. Except in drought or when your plant has an illness such as escallonia leaves spot, you should not water after that.
Pruning
The pruning required for established escallonia is minimal, with the exception of an annual light pruning to remove dead or damaged shoots. After the last frosts of winter are gone, but before new growth begins to form, mid-late spring is the best time to prune Escallonia. This will protect new shoots against frost damage.
You should aim to get rid of approximately one-third total of the old wood. Remove any dead wood and trim any overcrowded shoots. Mulch the plants and give them water after pruning to encourage growth and blooming. To encourage more growth, prune your escallonia harder than usual if you wish to grow it.
Re-shaping is necessary if you are growing escallonia to be a hedge. This will allow sunlight to reach the base and keep the plant green and healthy. To ensure that light can reach the lower leaves, you should prune the hedge to a pyramid shape with a wider base than the top.
Escallonia Propagation
Cuttings are the best and most efficient way to propagate Escallonia. You can take softwood cuttings late spring or early summer depending on the season, semi-hardwood cuttings late summer and hardwood cuttings autumn. To encourage new growth, it is best to remove any softwood cuttings from an existing plant. Cut the cuttings at the beginning of the day as they are most turgid. Cut 10cm-long, non-flowering shoots with a sharp knife from the parent plant. Make the cut just above the bud.
Plant the cuttings as soon as possible. Otherwise, you can store them in the refrigerator for up to 12 hours. The lower leaves can be removed from the cutting. Dip the base in rooting hormone and then place it into a container with compost. Cover the cuttings with a plastic bag, water well and let them dry in the sun.
To ventilate the soil, remove the bag once a week, keep it moist and remove any dead or dying materials. Your cuttings will have taken root within 8-10 weeks and should be ready for you to plant them individually.
Escallonia Pests and Diseases
Escallonia leaf spot
One of the most serious diseases that can affect this plant. This fungal disease is relatively new and causes black and purple leaf spots with white centers. The disease progresses and leaves become yellow and fall from the plant. This disease is most common in summer but it can happen at any time.
You must immediately remove infected material and surrounding areas from the plant to stop it spreading. To prevent reinfection, prune the plant hard and apply a fungicide. To help the plant fight the disease, you should water it and feed it.
Scale Insects
These pests can cause visible scales and bumps on your plant’s leaves, as well as sticky substances on the leaves that can lead to sooty mold and distorted growth. You have two options to treat scale insect infestations: pesticide or biological control. Biological control is the introduction of a natural predator to your environment. This can be done using Chilocorus Nigris ladybirds or parasitoid wasps.
Organic pesticides such as plant oils and fatty acids are the best because they are less likely to harm larger insects. These are not always effective and can be replaced with more permanent chemicals like deltamethrin. To avoid harming pollinators, it is important to spray pesticides only when plants aren’t in bloom.
